Interaction Panel
The Interaction Panel can be used to interact with your virtual agent. It can be accessed by clicking on the chat button at the top right of the interface when inside any Agent.

Test
Note
Chat tab was renamed to Test from version 4.25.0.
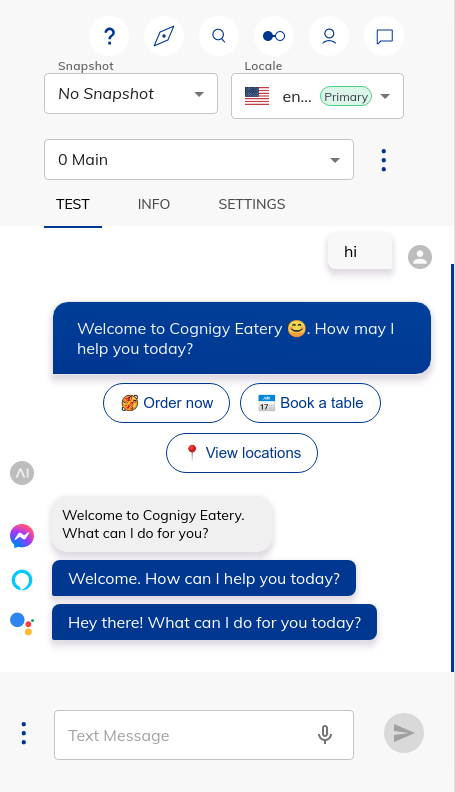
Channel-Specific output
The Interaction Panel will preview channel-specific output in case this has been configured in output nodes like the Say-Node.
Tip: Showing only selected output
It is possible to only show specific output for a selected set of channels. This can be configured under the Interaction Panel settings.
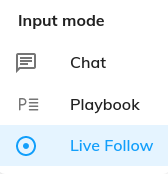
Input Modes
Clicking on the secondary button located in the bottom-left corner of the Interaction Panel, a menu opens up with the list of available input modes. Following are the three input modes in the Interaction Panel.
Note
Prior to version 4.25.0, Input Mode select was a part of Interaction Panel settings tab.
Chat
When Chat is selected as the input mode, the virtual agent can be triggered by typing into the input field and hitting the enter key (or pressing the send button). Alternatively, the microphone button can be pressed after which your device's microphone is started and voice input is registered.
It is common for messages to be sent to Cognigy.AI with attached data. It is possible to simulate this data input by adding a data payload in JSON format to the data input field. The Data Input field can be activated by enabling the Show data input switch in the Interaction Panel settings. Any data sent to Cognigy.AI with a message is accessible via CognigyScript under {{input.data}}
Voice Call
![]()
Feature availability
- If you use a SaaS Cognigy installation, contact the support team to activate this feature.
- If you use an On-Premises Cognigy installation, activate this feature by adding
FEATURE_ENABLE_VOICECALL_WHITELISTinvalues.yaml. For example,FEATURE_ENABLE_VOICECALL_WHITELIST:<organization-1-id>,<organization-2-id>.
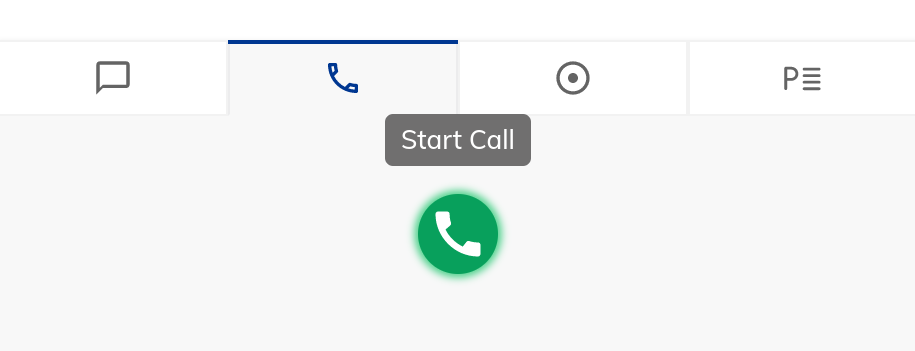
When Voice Call input mode is selected, you will be able to initiate a test voice call from the Interaction Panel and understand how the voice bot would sound like.
Before starting a voice call, you need to configure an Audio Provider in the Agent Settings page.
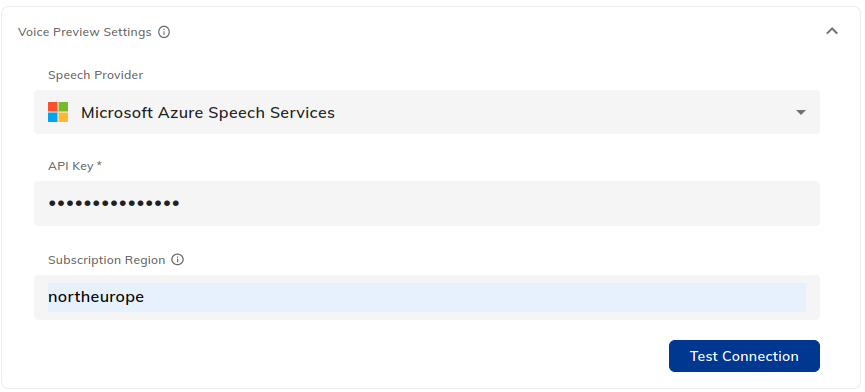
Based on the selected Audio Provider, the list of supported STT/TTS languages and voices will change. You can choose your preferred language and voice for your test call from the Voice Call section of the Settings tab in the Interaction Panel.
After configuring the Audio Provider, language and voice, you can start the call by simply clicking the Start Call button.
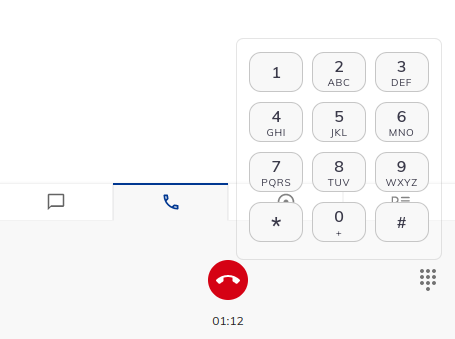
When the call is ongoing, you will be able to see how long the call is currently active with the help of the call timer below the End Call button. In addition, DTMF tones can also be inserted during the call using the Dialpad. You will also be able to see the conversation and follow the test voice call.
Live Follow
![]()
The Live Follow input mode helps observe a conversation between a virtual agent and a user in real time. You can debug a Flow when you have already set up an Endpoint for this Flow.
To use and test this mode, follow these steps:
- Go to Test > Logs.
- On the Logs page, find
userIdin theinfo Received message from userlog. If you do not see this log, navigate to the channel chat you created via the Endpoint (such as Webchat, Teams, or Slack). Send a message to this chat, then go the Logs page. To getuserIdfor Cognigy Demo Webchat, read Manually defining the user ID. - Copy
userId. - Go to the Flow editor, and open the Interaction panel.
- At the bottom of the Interaction panel, click
 .
. - Paste
userIdinto the User ID field. - To start live following, click
 .
.
Now you can view and track the user's real-time conversation from your Interaction Panel. To terminate live following, click Stop Live Following.
Note
Human agent messages are not shown in the Live Follow mode.
Playbook
When Playbook input mode is selected, a select field appears with the list of Playbooks present in the virtual agent. Select a Playbook that you wish to execute, and click the Play button. During execution, one can see the information about the Playbook Step assertions that failed or passed. Hovering over the assertion results will provide you further details in a tooltip.

Tip: Configuring Playbook Execution
You can further configure the Playbook execution under the Interaction Panel Playbook settings.
Info
The Info tab exposes 4 sub-tabs - Input, State, Context and Profile.

Input object
The Input object is updated with every user input and holds a lot of relevant information about the user's input, like the Intents that were found, the Channel that the message was sent through and any other relevant meta-data.
Input object
Head over to Input for more information.
State
State can be used to narrow the set of Intents that can be triggered, by actively excluding certain Intents from a certain state.
State
Head over to State to learn more.
Context object
The Context can be seen as the short-term memory of the virtual agent and is used to store session-specific information, like selected products or the user's current location. It is the location where API responses are typically stored, as they are relevant to the particular session.
Context object
Head over to Context for more information.
Profile object
The (Contact) Profile acts as persistent - long term - memory and is used to store specific user data, like the user's name and email, as well as use case specific information like for example,example, the user's favorite color.
Profile object
Head over to Profile for more information.
Settings
The Interaction Panel can be configured with a number of settings across different sections.
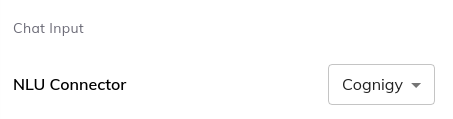
Chat Input
This section allows you to enable an alternative NLU engine for use in your Interaction Panel. It is possible to connector 3rd-party NLU engines by navigating to the NLU Connectors page.
Chat Output
This section lets you configure the chat outputs in the Interaction Panel.
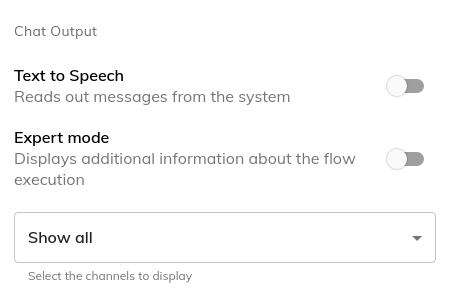
Text to Speech
If enabled, the virtual agent will speak to you through the browser's Text to Speech functionality.
Expert Mode
![]()
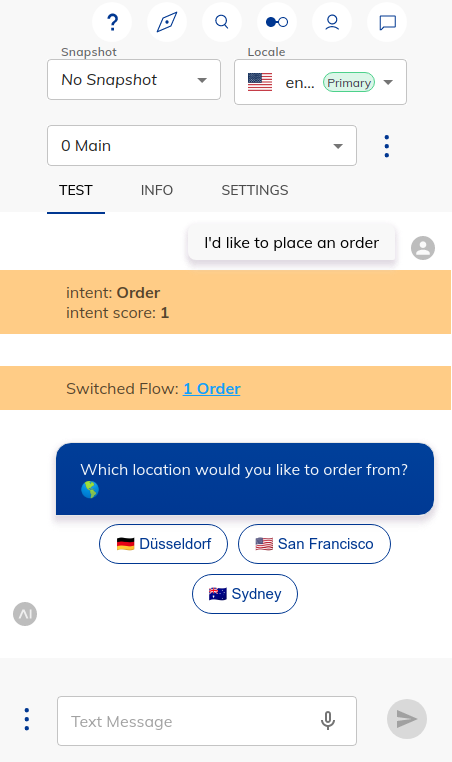
If enabled, the Interaction Panel will display additional information about the Flow execution:
- Triggered Intents and their score.
- Triggered Yes/No Intents and their score.
- The name of the Flow that was triggered.
Channel Select
We can also filter the messages in the Interaction panel by a specific channel. By default, outputs from all channels will be displayed.
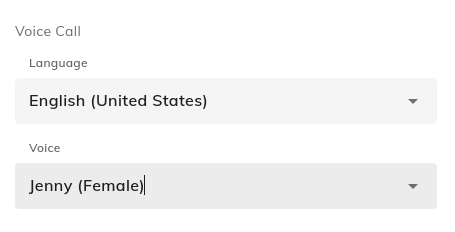
Voice Call
![]()
This section allows you to choose the language and voice for testing the voice calls from Interaction Panel.
Playbooks
This section lets you configure the Playbook executions in the Interaction Panel.
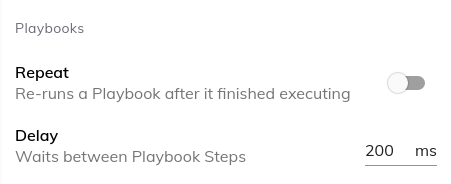
Repeat
Turning this feature on will repeat executing the selected Playbook over and over again.
Delay
Time (in milliseconds) to wait between each Playbook Step execution.
General
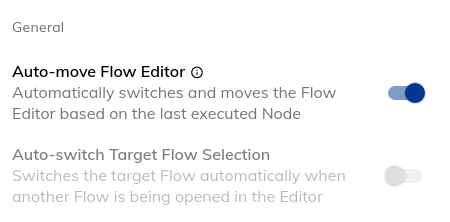
Auto-move Flow Editor
![]()
If turned on, based on the Interaction Panel outputs, the Flow Editor will automatically move and center the Flow node that was last executed. If the last triggered node belongs to a different Flow, other than the one that is currently open in the editor, then the Flow of the last triggered node will be opened automatically and the node will be centered.
Note
Turning this setting on will automatically turn off and disable Auto-switch Target Flow Selection setting.
Auto-switch Target Flow Selection
When this setting is turned on, the Flow selection in the Interaction Panel automatically switches to the Flow opened in the Flow Editor.
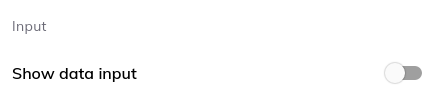
Input
Under this section, you can turn on Show data input toggle to enable the Data Input field for Chat input mode in Interaction Panel.