NLU Overview
Natural Language Understanding is at the core of advanced virtual agents. Cognigy.AI features an industry-leading NLU engine called Cognigy NLU.
Intents
Intent Mapping is at the core of the NLU engine and the process uses machine learning to match the user's utterance to the defined intents.
To learn how to use Intents, read Train your virtual agent to recognize Intents in Cognigy Help Center.
Watch this Episode of Cognigy Sessions for a technical deep dive
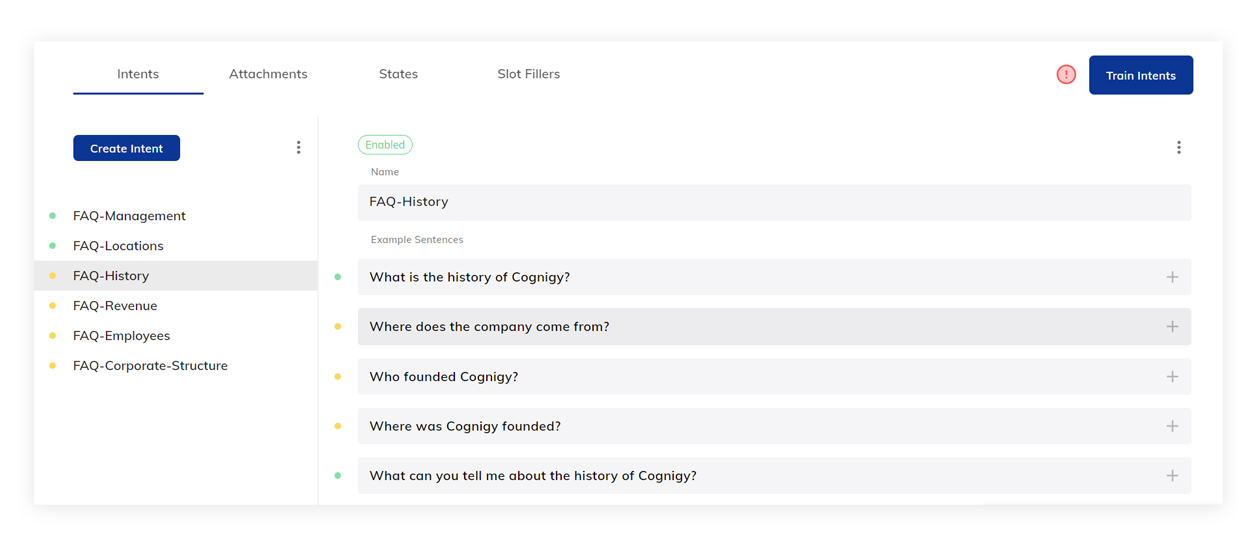
Intents can be created right within the Intents section of the NLU tab and can be fed with training data in the form of example sentences. These example sentences should include a certain degree of variation for the model to work well. The following image shows an example intent library within the intent creation menu:
Machine learning models work best with comparable amount of information on all intent classes. That is, ideally all intents have a similar amount of example sentence and are clearly separable in terms of content. While it is able to deal with imperfect input, it always helps if you make the job for the machine easier.
Make sure you do not have intents that are only a single word or sentence without useful information. Such intents may reduce the overall efficacy of the model.
If the NLU predicts the utterance is out of scope of the intent model, no intent will be triggered and intent will be set to null in the Input object. You can add examples to the Reject Intent to intentionally prevent the NLU from recognizing any user inputs that are outside the scope of the virtual agent.
Avoid punctuation marks in example sentences
Using punctuation marks in example sentences affects recognition accuracy.
NLU model feedback
As soon as the model is trained, Cognigy NLU is able to provide feedback regarding the model's performance. This is shown using different colors, with green being good, orange being suboptimal and red being bad. Additional information is given on mouse-hover.
Number of example sentences
Intents must have at least a minimum of five example sentences to train the NLU sufficiently and to get a suitable Model. The more examples you enter, the more the model can be built with higher accuracy. As a result, Intents will be recognized in a conversation with a higher likelihood and evaluated by a higher score rate based on the more accurate model. That improves the intent recognition of your virtual agent.
Rules
Rules can be used to trigger the Intent under specific conditions. Rules are defined as JavaScript expressions that are evaluated when the NLU is executed.
Intent Entrypoint
Intent Entrypoints can be used to alter the Entrypoint in the Flow after the NLU is executed. The three options are:
-
Execute normally Automatically set the Entrypoint.
-
Execute from START in this flow Executes the Flow using the Start Node.
-
Execute from a Node in this flow Executes the flow starting from a specific Node.

Default Replies
Intents can be configured with direct output (answers) in the form of so-called Default Replies. Default Replies are integrated Say and can be configured with channel-specific output.
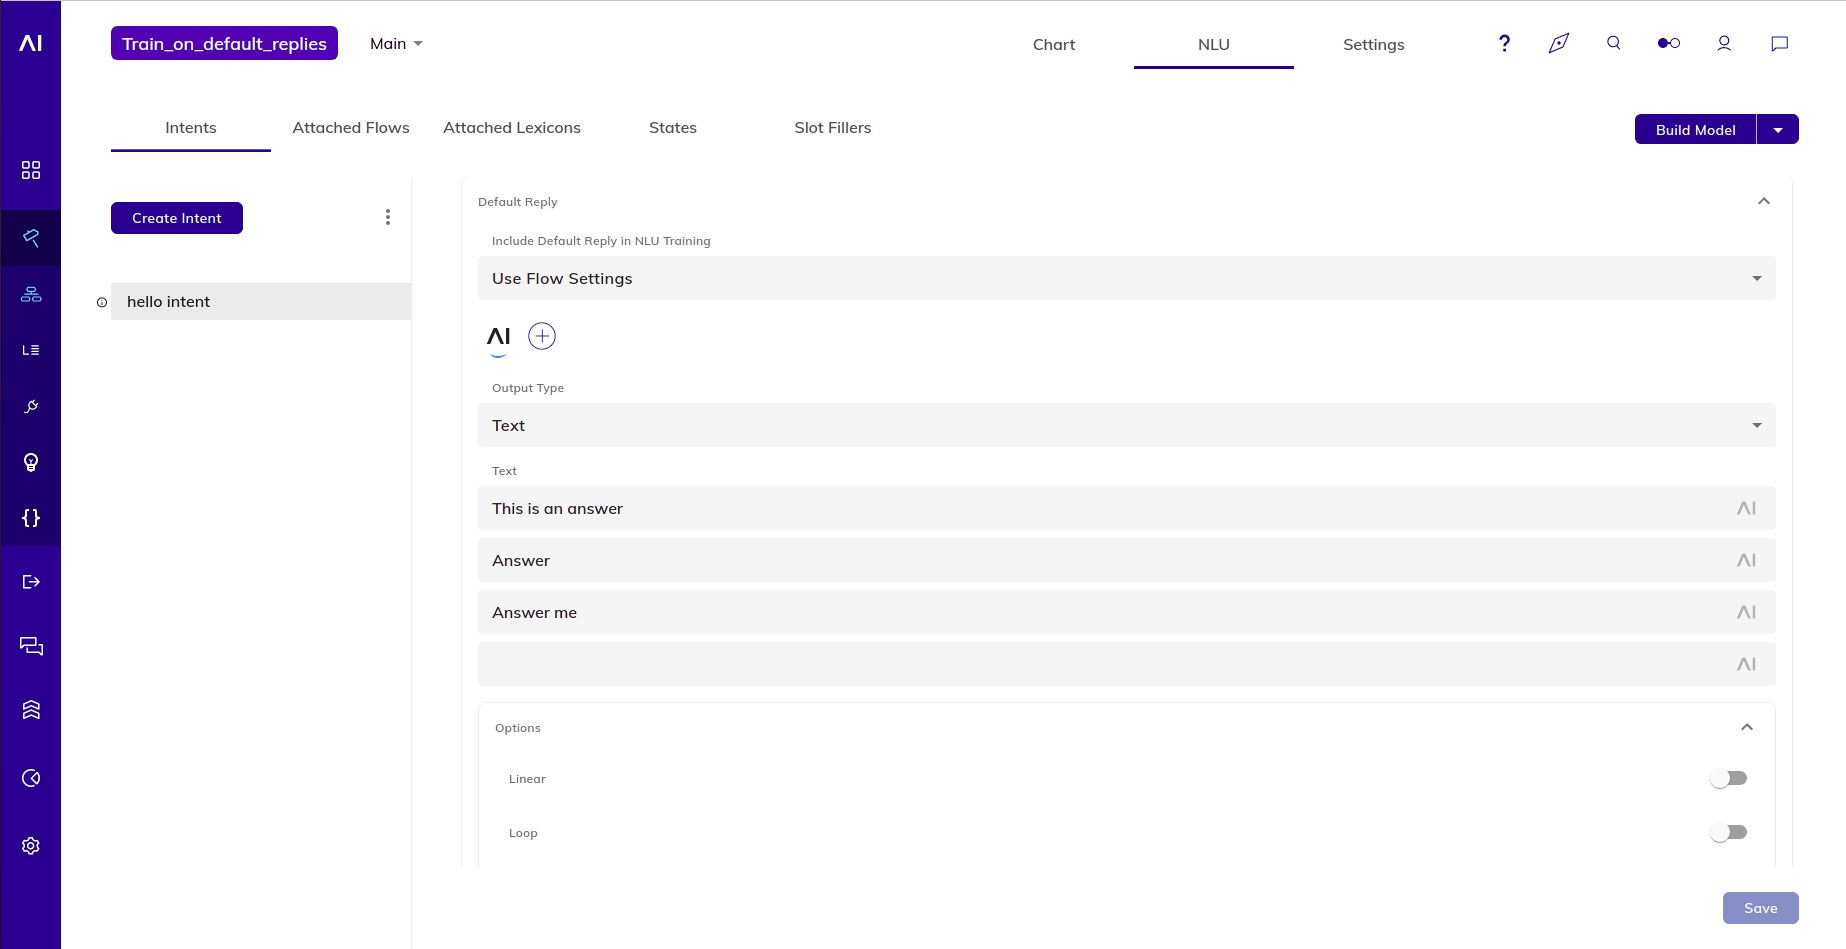
You can override the setting to use the Default Replies as example sentences per each individual Intent. Per default, the setting is set to Use Flow Settings, meaning we will use the Flow Settings.
If this feature is enabled, the NLU will also use the configured default replies to train, improving the match rate for the configured intent.
Advanced
Intents can be configured with a number of advanced options.
Tags
Tags can be used to categorize Intents, which makes it easier to manage them.
Conditions
See Intent Conditions for more information on how to enable and disable Intents dynamically with CognigyScript Conditions.
Confirmation Sentence
Cognigy NLU comes with an intent confirmation mechanism that works by configuring Confirmation Sentences in each intent. Whenever an Intent score falls within a (configurable) range - let's say 0,4 - 0,6, the Confirmation Sentence is triggered and shown to the user. If the user confirms the Intent, the Intent will be triggered.
To learn how to add reconfirmation sentences, read Machine Learning Intents.
Intent Options Menu
The Intent Options Menu can be selected by clicking on the three dots next to the Create Intent button. The menu provides a number of options:
-
Upload Intents CSV or JSON File. This option lets you upload Intent collection in either CSV or JSON format.
-
Download Intents. Intents can be downloaded in CSV and JSON formats as well.
-
Create Reject Intent. Reject Intents can be used to explicitly filter out certain utterances. A Reject Intent can be used in case certain user utterances should not be registered as an Intent.
-
Delete All Intents. This option can be used to batch-delete all intents in a given Flow.
Upload Intents
To upload intents, follow these steps:
- Open your Flow.
- In the Flow editor, navigate to NLU > Intents.
- On the right side of the + Create Intent button, click
 .
. - Select Upload Intents CSV or JSON File.
- Select one of the following modes:
- Skip — if an intent with this name already exists, the import process will skip this intent.
- Overwrite — if an intent with the same name already exists, the existing intent will be deleted and replaced with the new values.
- Merge — if an intent with the same name already exists, the properties that allow multiple values will be merged. These properties include:
- Example Sentences
- Rules
- Tags
- Confirmation sentences Other properties, such as Default Reply and Condition, will not be modified.
- Click Confirm.
Uploading intents does not delete existing intents that are not included in the upload file. If you want to delete intents, you can use the Delete All Intents option or delete individual intents beforehand.
Download Intents
Warning
Fields beginning with the characters @, +, -, or = are not allowed.
To download intents, follow these steps:
- Open your Flow.
- In the Flow editor, navigate to NLU > Intents.
- On the right side of the + Create Intent button, click .
- Select Download Intents.
- Select the downloaded format: CSV or JSON.
- Click Confirm.
The file will be downloaded in the selected format.
Individual Intent Options Menu
Each intent additionally has its own options menu that can be selected by clicking on the three dots next to the Intent name. The menu provides a number of options:
-
Create Child Intent. Adds an intent as a child intent to the selection. See Intent Hierarchy. This property is included on data import/export.
-
Disable Intent. Disables the selected intent so that it cannot be recognized or activated by a user input. This function temporarily removes the intent, and it's associated training data from the model but allows for it to be re-added in a single click. This property is included on data import/export.
-
Delete Intents. Removes the intent and all associated training data from the model.
Attachments
Cognigy NLU can take into account additional Flows and Lexicons whenever they are attached.
Attached Flows
Whenever a Flow with Intents is attached to another Flow, the Intents in that Attached Flow are taken into account when training the NLU model. This is a practical way of combining different Intent collections into a bigger model.
Be careful with attaching Flows
Whenever a Flow is attached to another Flow, the Intents of both Flows are combined into a single model. This may lead to unexpected results.
Attached Lexicons
Lexicons need to be attached to a Flow in order for a Flow to be able to detect its Keyphrases. Make sure to retrain the model whenever you attach or detach resources.
States
States can be used to deliberately block certain Intents. This can help with edge-cases or very large Intent collections.
For more information, read State.
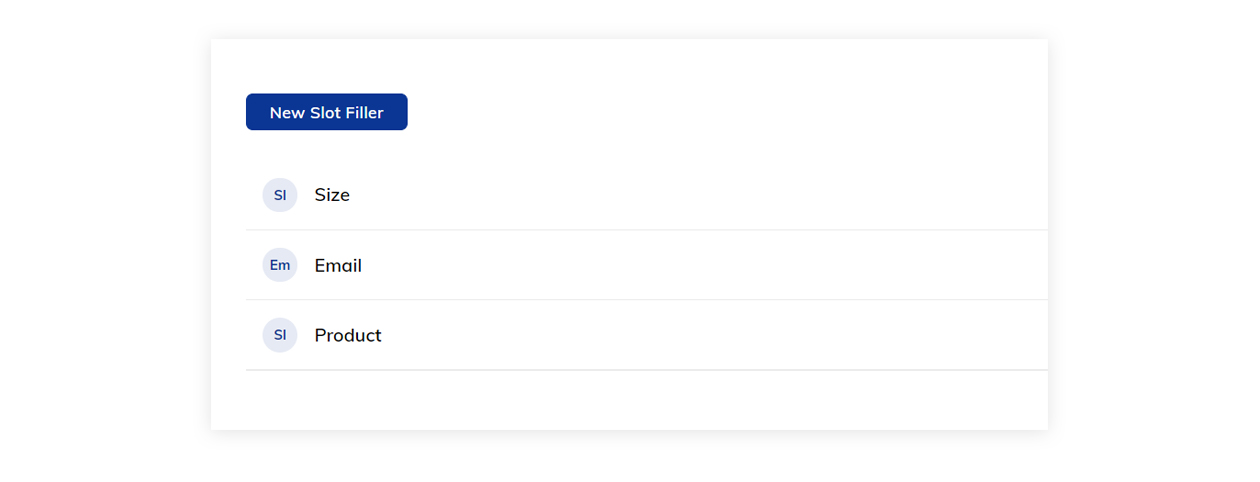
Slot Fillers
Watch this Episode of Cognigy Sessions for a technical deep dive
Slot Fillers allow for advanced Slot filling with very little effort. They can be configured with a certain Type of Slot and are executed whenever the NLU is executed (typically with every input). Slot Fillers automatically copy found Slots to the Context object, meaning that they can be filled using a number of subsequent user utterances. When combined with Question Nodes, this allows for a very natural information gathering mechanism since it allows users to "over answer".
Example: Suppose we want to gather three pieces of information:
- Size
- Product
We would configure appropriate Slot Fillers for these pieces of information:
If we now add matching Question Nodes, we get following Flow:

Make sure to configure the Question Nodes with the "Skip if Answer exists in Context" selected, as this is where the Slot Filler results are stored.

The Flow is now ready to take different kinds of utterances and automatically ask for the missing information.
"I would like a T-Shirt in XL" →[missing email]→"What is your email?".
"I would like a T-Shirt in XL, and my email is max@cognigy.com"→ Flow completed.
Advanced Slot Filler Options
Additional Validation
A CognigyScript condition which must return true in order for the match to be considered valid. An example would be an additional validation on an Email Question of input.slots.EMAIL[0].endsWith("cognigy.com") which would guarantee that only cognigy.com email addresses pass the validation.
Result Location
The location of a filled slot result is determined by default by the slot type (e.g., input.slots.EMAIL[0] for Email Questions). This can be overwritten using this setting (e.g., input.slots.EMAIL would store all found email slots). If the result location doesn't return a value (= is falsy), the answer will be considered invalid.