

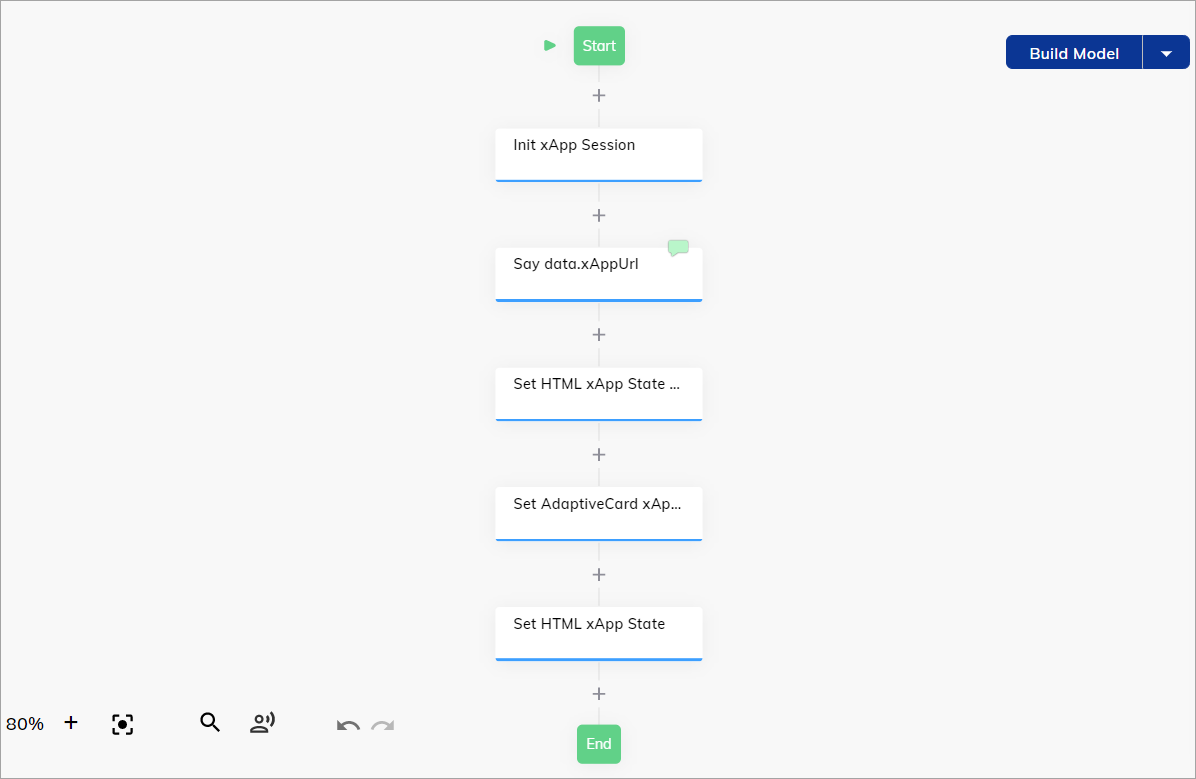
Configure the Flow
xApp: Init Session Node
- Create a new Flow in Cognigy and name it
Standalone xApp Tutorial. - In the Flow Editor, add an xApp: Init Session Node.
- Open the Node editor and fill in the following fields:
- In the Style Customization section:
- Background Color — specify
darkslategray. - Logo — select Show Default Logo.
- Background Color — specify
- In the xApp Screens section:
- Loading Text — specify
Loading...
- Loading Text — specify
- In the Intermediate Screen section:
- Customization type — select Customized Texts from the list.
- Text Override — enter
Thank you for the info. You can now close this tab.
- In the Connection Screen section:
- Customization type — select No customization.
- In the Style Customization section:
- Click Save Node.
Say Node
- Below the xApp: Init Session Node, add a Say Node.
-
In the Options section, in the Data field, specify the code:
This data-only message is received in the
handleExecutionFinishedtransformer method. The URL is then used to redirect the browser to the xApp Shell page. - Click Save Node.
xApp: Show HTML Node
- Below the Say Node, add an xApp: Show HTML Node.
- In the Content section, select Full HTML Document.
- In the HTML Document section, specify the following code:
- Click Save Node.
xApp: Show Adaptive Card Node
- Below the Question Node, add the xApp: Show Adaptive Card Node.
- In the AdaptiveCard Definition field, specify the following code:
- Under Waiting Behavior, select Wait for xApp User Input.
- Click Save Node.
xApp: Show HTML Node
- Below the xApp: Show Adaptive Card Node, add an xApp: Show HTML Node.
- In the Content field, select Full HTML Document.
- In the HTML Document field, specify the following code:
- Under Waiting Behavior, select Wait for xApp User Input.
- Click Save Node.
Test the Flow
-
Open the Interaction Panel and enter a message like
Hito trigger the Flow. -
In the Interaction Panel, expand the Event/Message with payload section to access the xApp session. Also, you can check the Info tab to see the xApp’s URL in the
input.apps.urlinput object. - Open the xApp’s URL.
- Once the page is opened, click Ok. The Adaptive Card form will be loaded.
-
In the Phone Number field, specify a mobile number and click Submit.
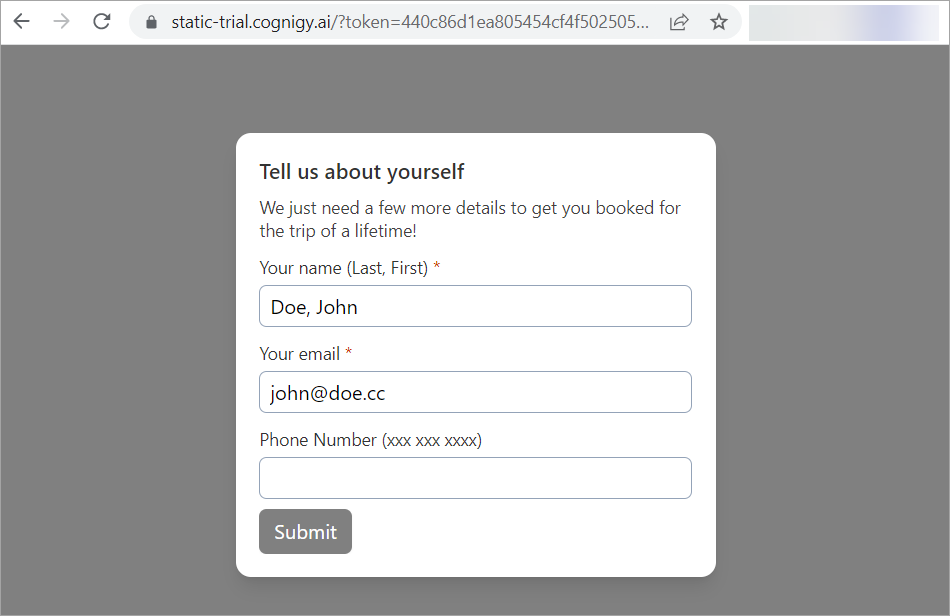
Thank you for the info. You can now close this tab.
After that, you can deploy your xApp.
Deploy the xApp
- Go to Deploy > Endpoints.
- Click + New Endpoint.
- Select the Rest Endpoint from the list.
- Specify a unique name and select the corresponding Flow.
- In the Endpoint editor, go to the Transformer Functions section.
- Activate the Enable Input Transformer and Enable Execution Finished Transformer settings.
- In the Transformer field, specify the following code:
- Click Save.