

Settings
Genesys Audio Connector Carrier
A Genesys Audio Connector carrier is a special carrier that connects Genesys Cloud to Voice Gateway using the AudioHook WebSocket protocol instead of SIP. Because this carrier only receives audio from Genesys Cloud and uses a built-in SIP gateway, several carrier settings aren’t needed and are hidden, including E.164 Syntax, Outbound Authentication, Tech Prefix, SIP Diversion Header, and SIP Gateways. To use a Genesys Audio Connector carrier, refer to the Genesys Audio Connector.Add a Carrier
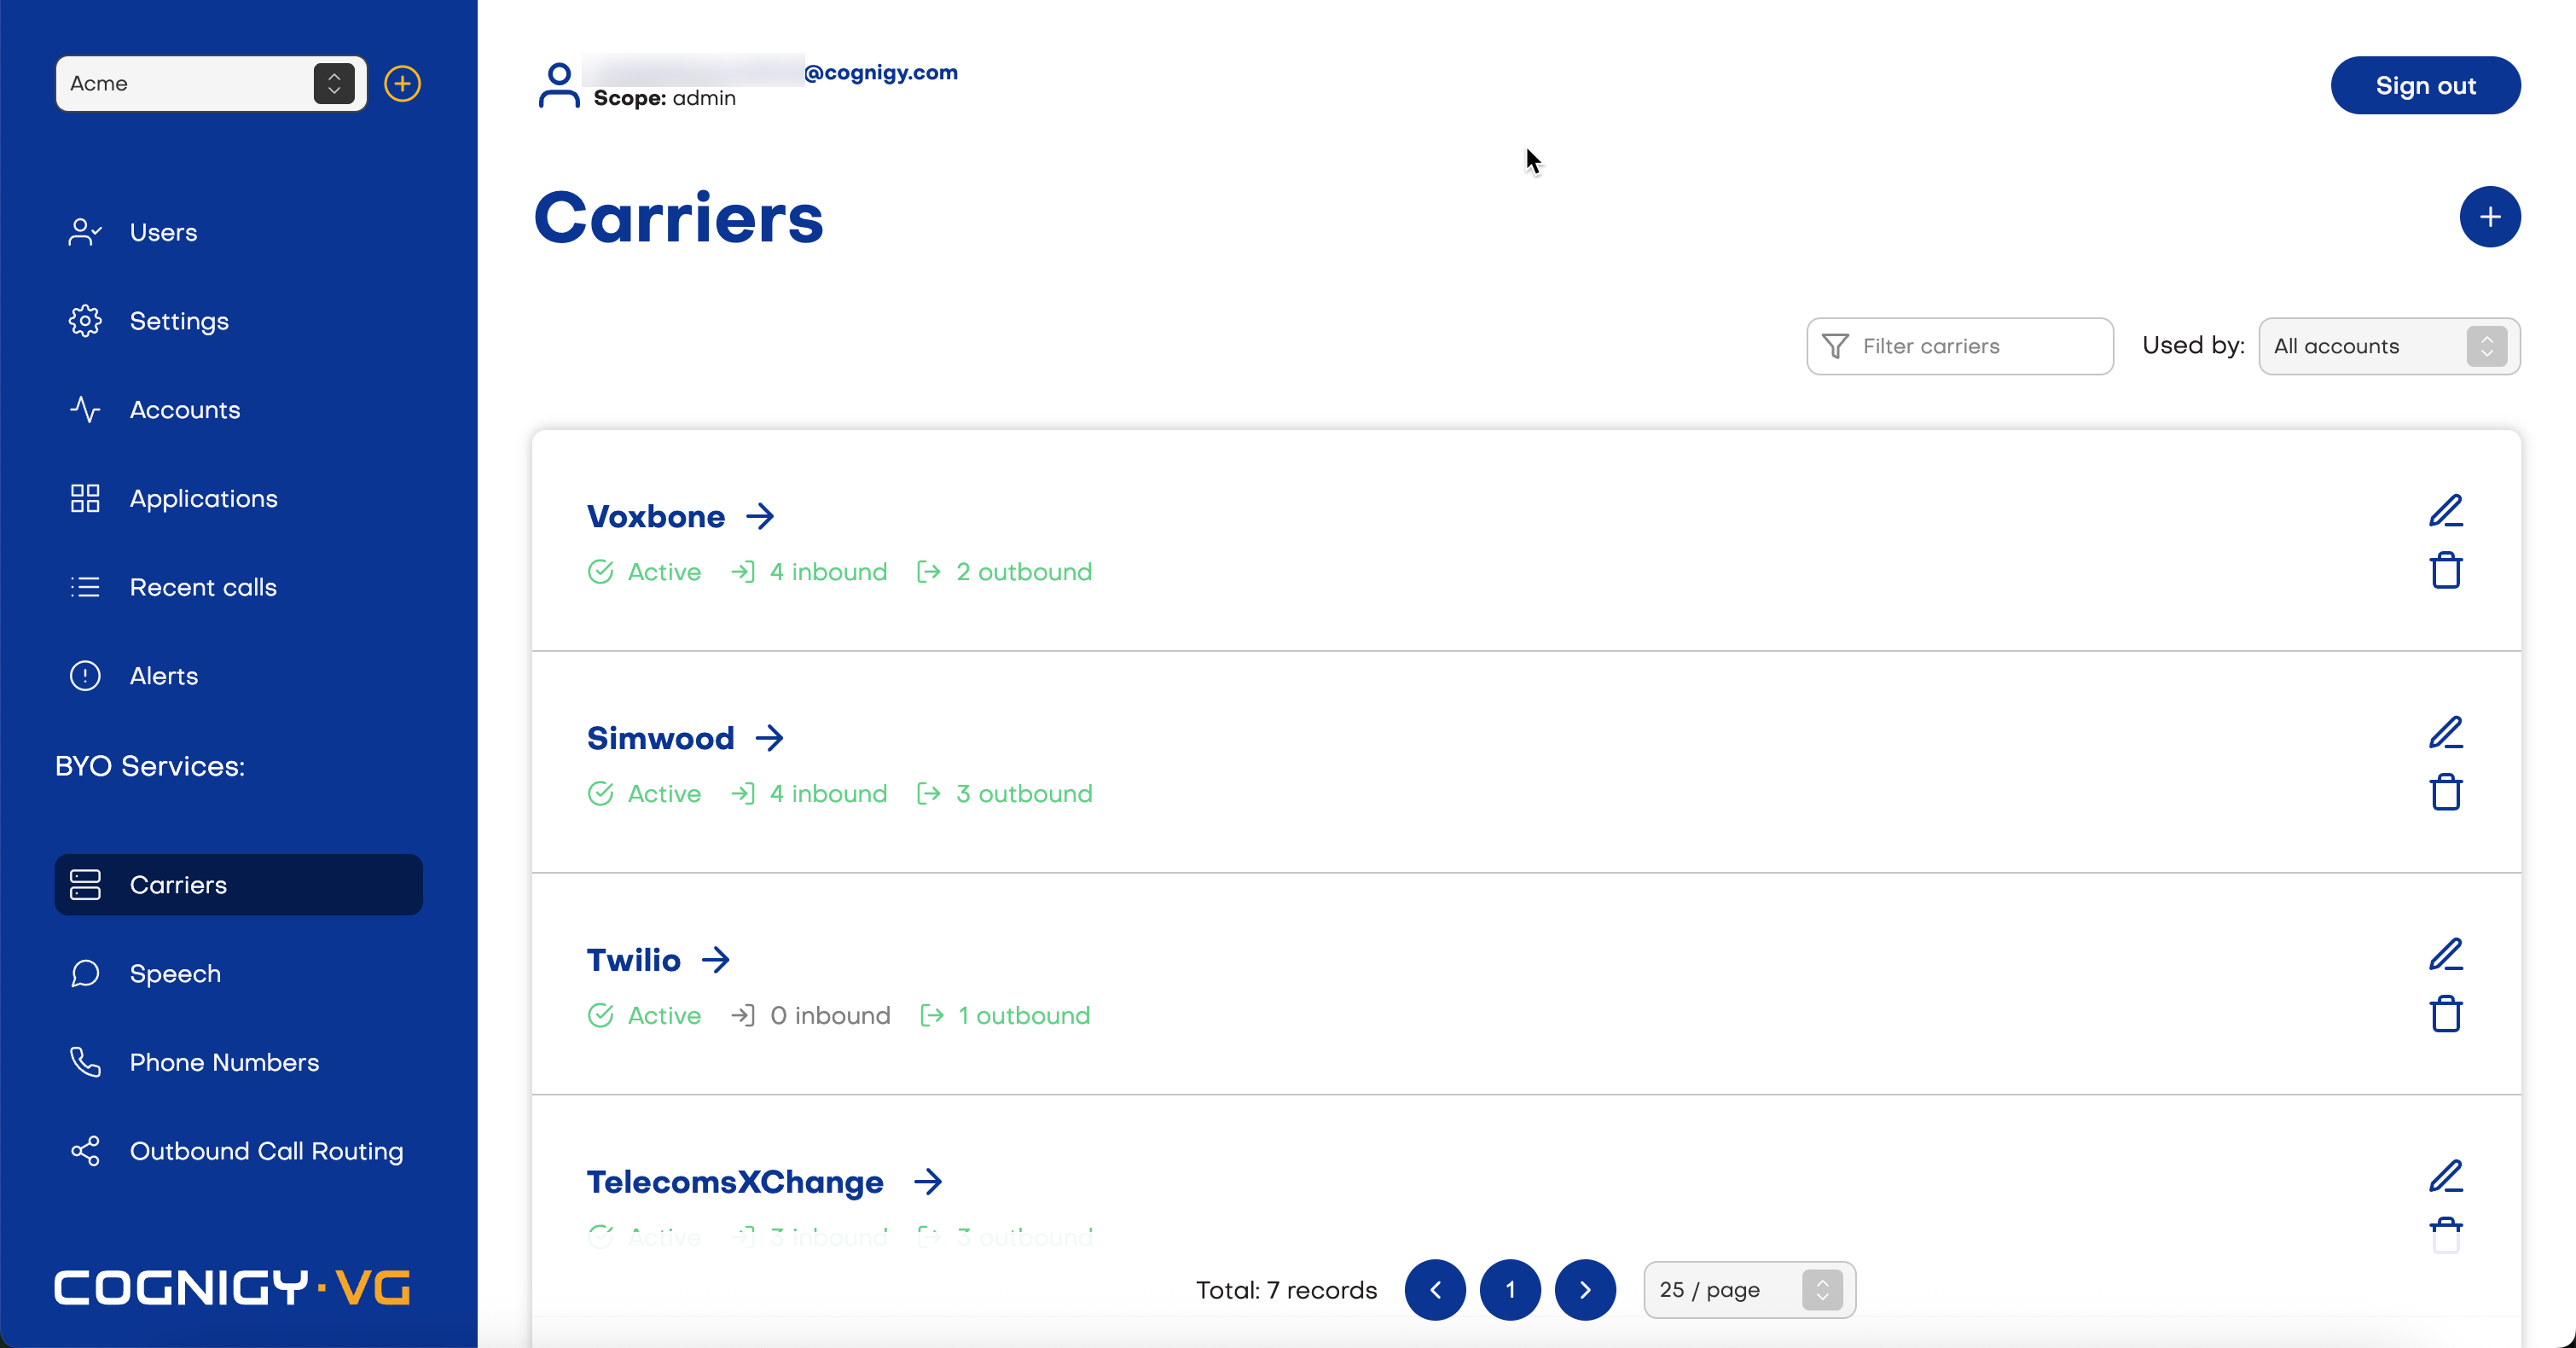
To add a new carrier, follow these steps:- In the left-side menu of the Voice Gateway Self-Service Portal, select Carriers.
- Click + in the upper-right corner.
- In the Carrier name field, enter a unique name for your SIP trunk.
- (Optional) Click Select a predefined carrier and select a SIP trunk provider from the list. The carrier fields will be prefilled with standard values for the selected provider. You can customize them later.
- Make sure the Active setting is enabled.
- (Optional) Enable the E.164 Syntax setting if your provider requires phone numbers in the international E.164 format.
- In the SIP Gateways section, click
 to add a SIP gateway.
- Configure the SIP gateway settings:
- Network Address — enter the IP address or hostname provided by your SIP trunk provider.
- Port — the default port is
5060for UDP/TCP or5061for TLS or TLS/SRTP. - Netmask — enter the netmask provided by your SIP trunk provider.
- Select the call direction: Inbound, Outbound, or both. For outbound calls, you can additionally configure outbound authentication and SIP encryption.
- Make sure the Active setting is enabled.
- Configure the SIP gateway settings:
- Click Save.
Outbound Authentication
Outbound authentication is helpful in SIP setups where security and access control are crucial. It prevents unauthorized users from initiating calls or accessing SIP servers. The process of authentication in SIP involves verifying the identity of the Voice Gateway Carrier (client) as it attempts to access the SIP trunk provider (server). This access includes registering with a SIP server and initiating calls. To set up the outbound authentication process, follow these steps:- In the left-side menu of the Voice Gateway Self-Service Portal, select Carriers.
- Go to the Outbound Authentication section and activate its setting.
- Fill in the following fields:
- Username — the name of the user required for outbound call authentication.
- Password — the user password required for outbound call authentication.
These credentials are used by the SIP client to authenticate with the SIP trunk provider when making outbound calls.
- Activate the Require SIP Register setting. This setting indicates whether the SIP trunk provider requires SIP registration before allowing outbound calls. SIP registration is the process where the SIP client registers its location and availability with the SIP server.
- In the SIP Realm field, specify the domain associated with the SIP server, for example,
sip.nexmo.com. - (Optional) In the SIP From User field, specify the user of the SIP From header, indicating the message’s sender. This field can contain the name or telephone number of the Voice Gateway Carrier.
- (Optional) In the SIP From Domain field, specify the domain of the SIP From header, indicating the message’s sender. This field can contain the domain of your Voice Gateway installation.
- Activate the Use Public IP in Contact field to determine whether to use the public Voice Gateway IP address when establishing contact with the SIP server. The public address will be transferred in the Contact header field.
- Click Save.
- At the top of the Edit carrier page, check whether the connection is established. If the registration is successful, the Register status section shows
200 OKtogether with the registration details. For more information, see Register Status.
Register Status
When the Require SIP Register setting is activated in the Outbound Authentication section for a carrier, the Edit carrier page displays the Register status section. It displays the details of the latestREGISTER attempt and a history bar that shows recent attempts as a compact timeline. With this information, you can spot registration failures at a glance without searching through logs.
Your SIP trunk provider must support and set up SIP registration. Voice Gateway doesn’t manage the registration setup with the provider. Check with your SIP trunk provider whether your SIP trunk supports SIP REGISTER.
REGISTER attempt. The history shows up to 50 of the most recent attempts. The time period covered by the history depends on the registration expiration interval. Shorter intervals result in more frequent, recent attempts; longer intervals can span hours or days. Color indicates the result:
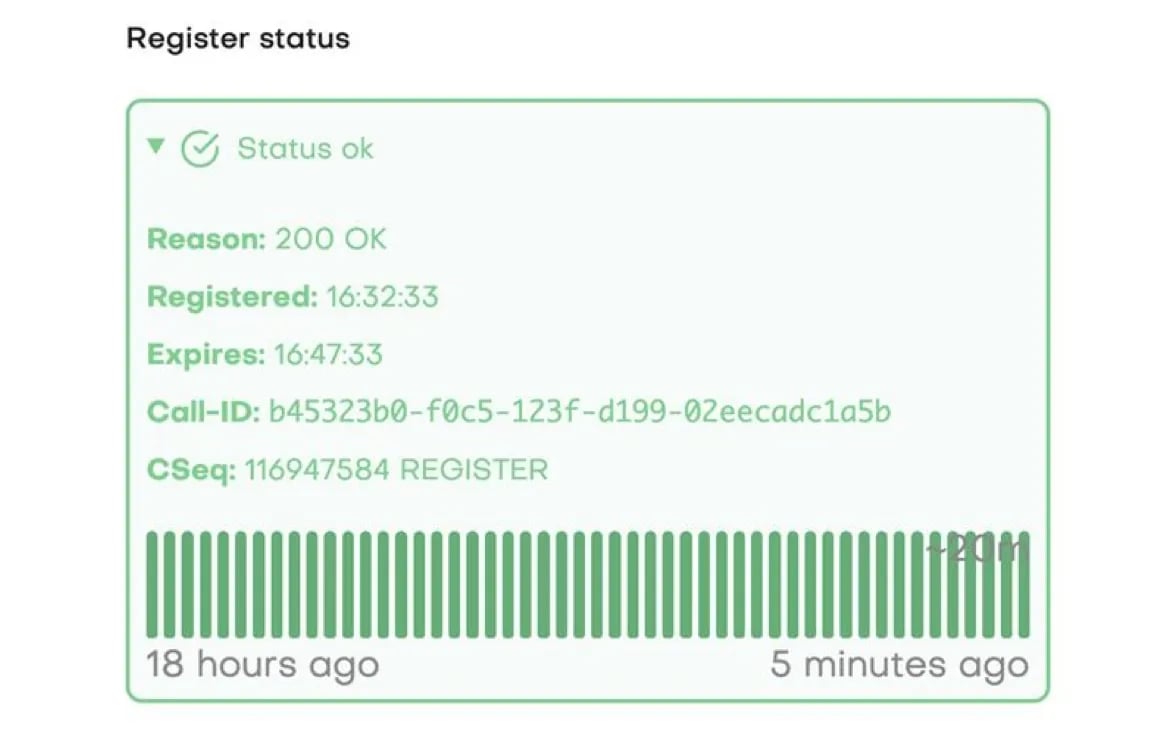
Green
Successful registration.
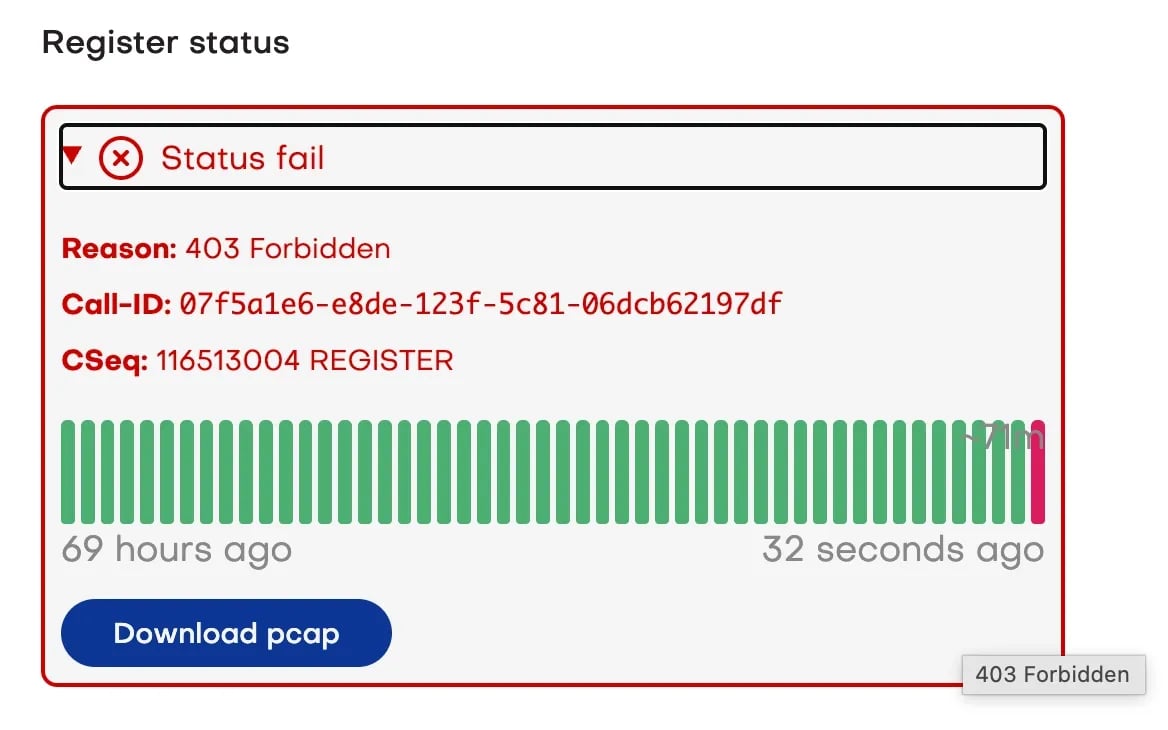
Red
Failed registration attempt with the SIP response code.
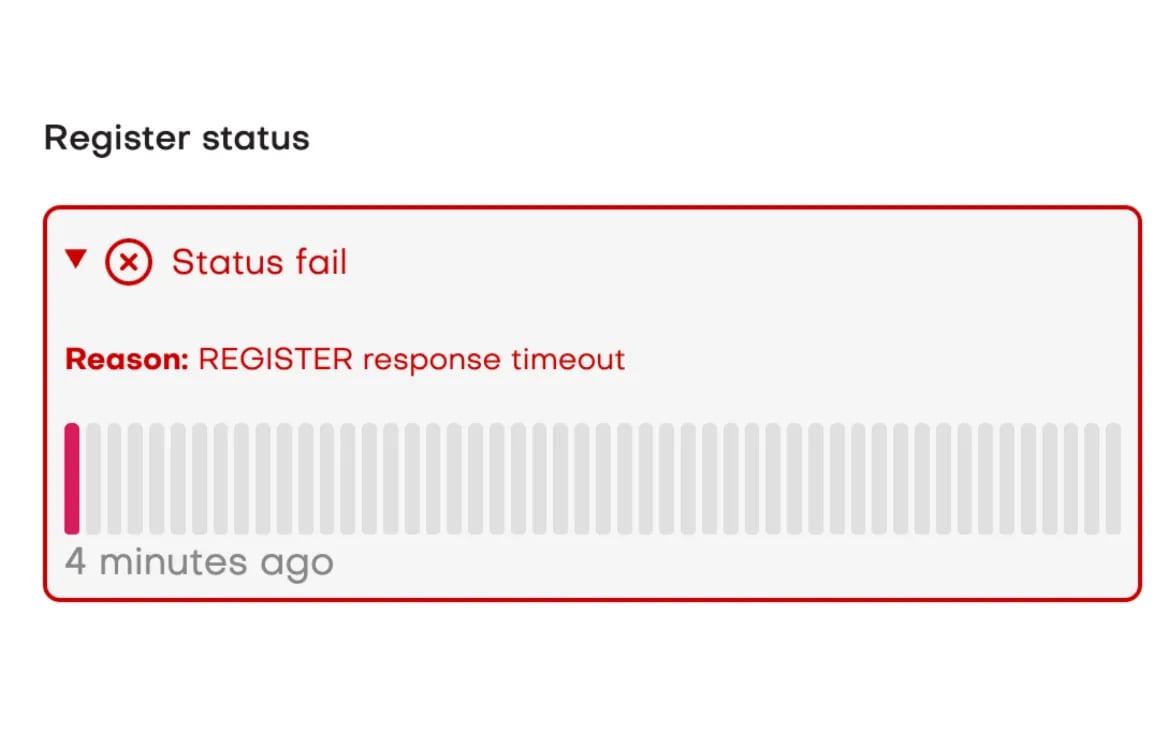
Red
Failed registration attempt without the SIP response code.
Hover over a bar segment to view the time of the registration attempt.
If a PCAP file was captured for the
REGISTER exchange, a Download pcap button appears in the Register status section. If no network exchange with the provider took place, for example, because of an incorrect network setup, no PCAP file is created and the link doesn’t appear.
SIP Encryption for Outbound Calls
Voice Gateway supports various methods of encryption for outbound calls:- SIP over TLS. The standard Session Initiation Protocol (SIP) is used for signaling and establishing communication, where the SIP messages are encrypted with TLS. This type of encryption provides a secure channel for the signaling information. SIP over TLS is often considered more flexible as it allows for the use of existing SIP infrastructure and clients with TLS capabilities.
- SIPS. SIPS is a URI scheme specifically designed for secure SIP communication. It indicates that the SIP signaling should be encrypted with TLS once the connection is established. SIPS is simpler to set up as it’s a dedicated scheme for secure SIP, but it might require more specific client and server configurations.
- SIP over TLS/SRTP with Crypto padding. This type of encryption serves as an additional security layer when using SIP over TLS/SRTP. The Pad crypto option adds extra data to the encrypted voice packets, making them even harder to decrypt. Adding extra data (padding) to voice calls can make it harder to spy on them, because it hides the true size of the information being sent.
- In the left-side menu of the Voice Gateway Self-Service Portal, select Carriers.
- Select the carrier you want to use for outbound communication.
- Go to the SIP Gateways section.
-
Select an existing gateway you want to use for outbound communication or create a new one by clicking .
-
In the Network Address field, enter the Network Address, for example
12.345.678.9. - Enter the Port number in the Port field. The assigned Port is 5060 by default. For SIPS and SIP/TLS, set the Port to 5061.
- Select the Outbound option.
-
Select from the available options:
- UDP — this option activates SIP over UDP (User Datagram Protocol). UDP doesn’t require an established connection or authentication to send information. UDP is most suitable for audio streaming.
- TCP — this option activates SIP over TCP (Transmission Control Protocol). TCP requires an established connection between the sender and the receiver. With TCP, only the sender and the receiver are able to communicate with one another.
- TLS — this option activates SIP over TLS. TLS prevents third party eavesdropping and tampering with communication. If you want to use an additional layer of security (SIPS), select Use sips scheme.
- TLS/SRTP — this option activates SIP over TLS/SRTP. This option provides TLS encryption to both the connection and the audio stream. Configure the additional options:
- If you want to use an additional layer of security (SIPS), select Use sips scheme.
- If you want to add cryptographic padding to your connection for additional security, select Pad crypto.
- Click Save.