

Cloud-Based Speech Services
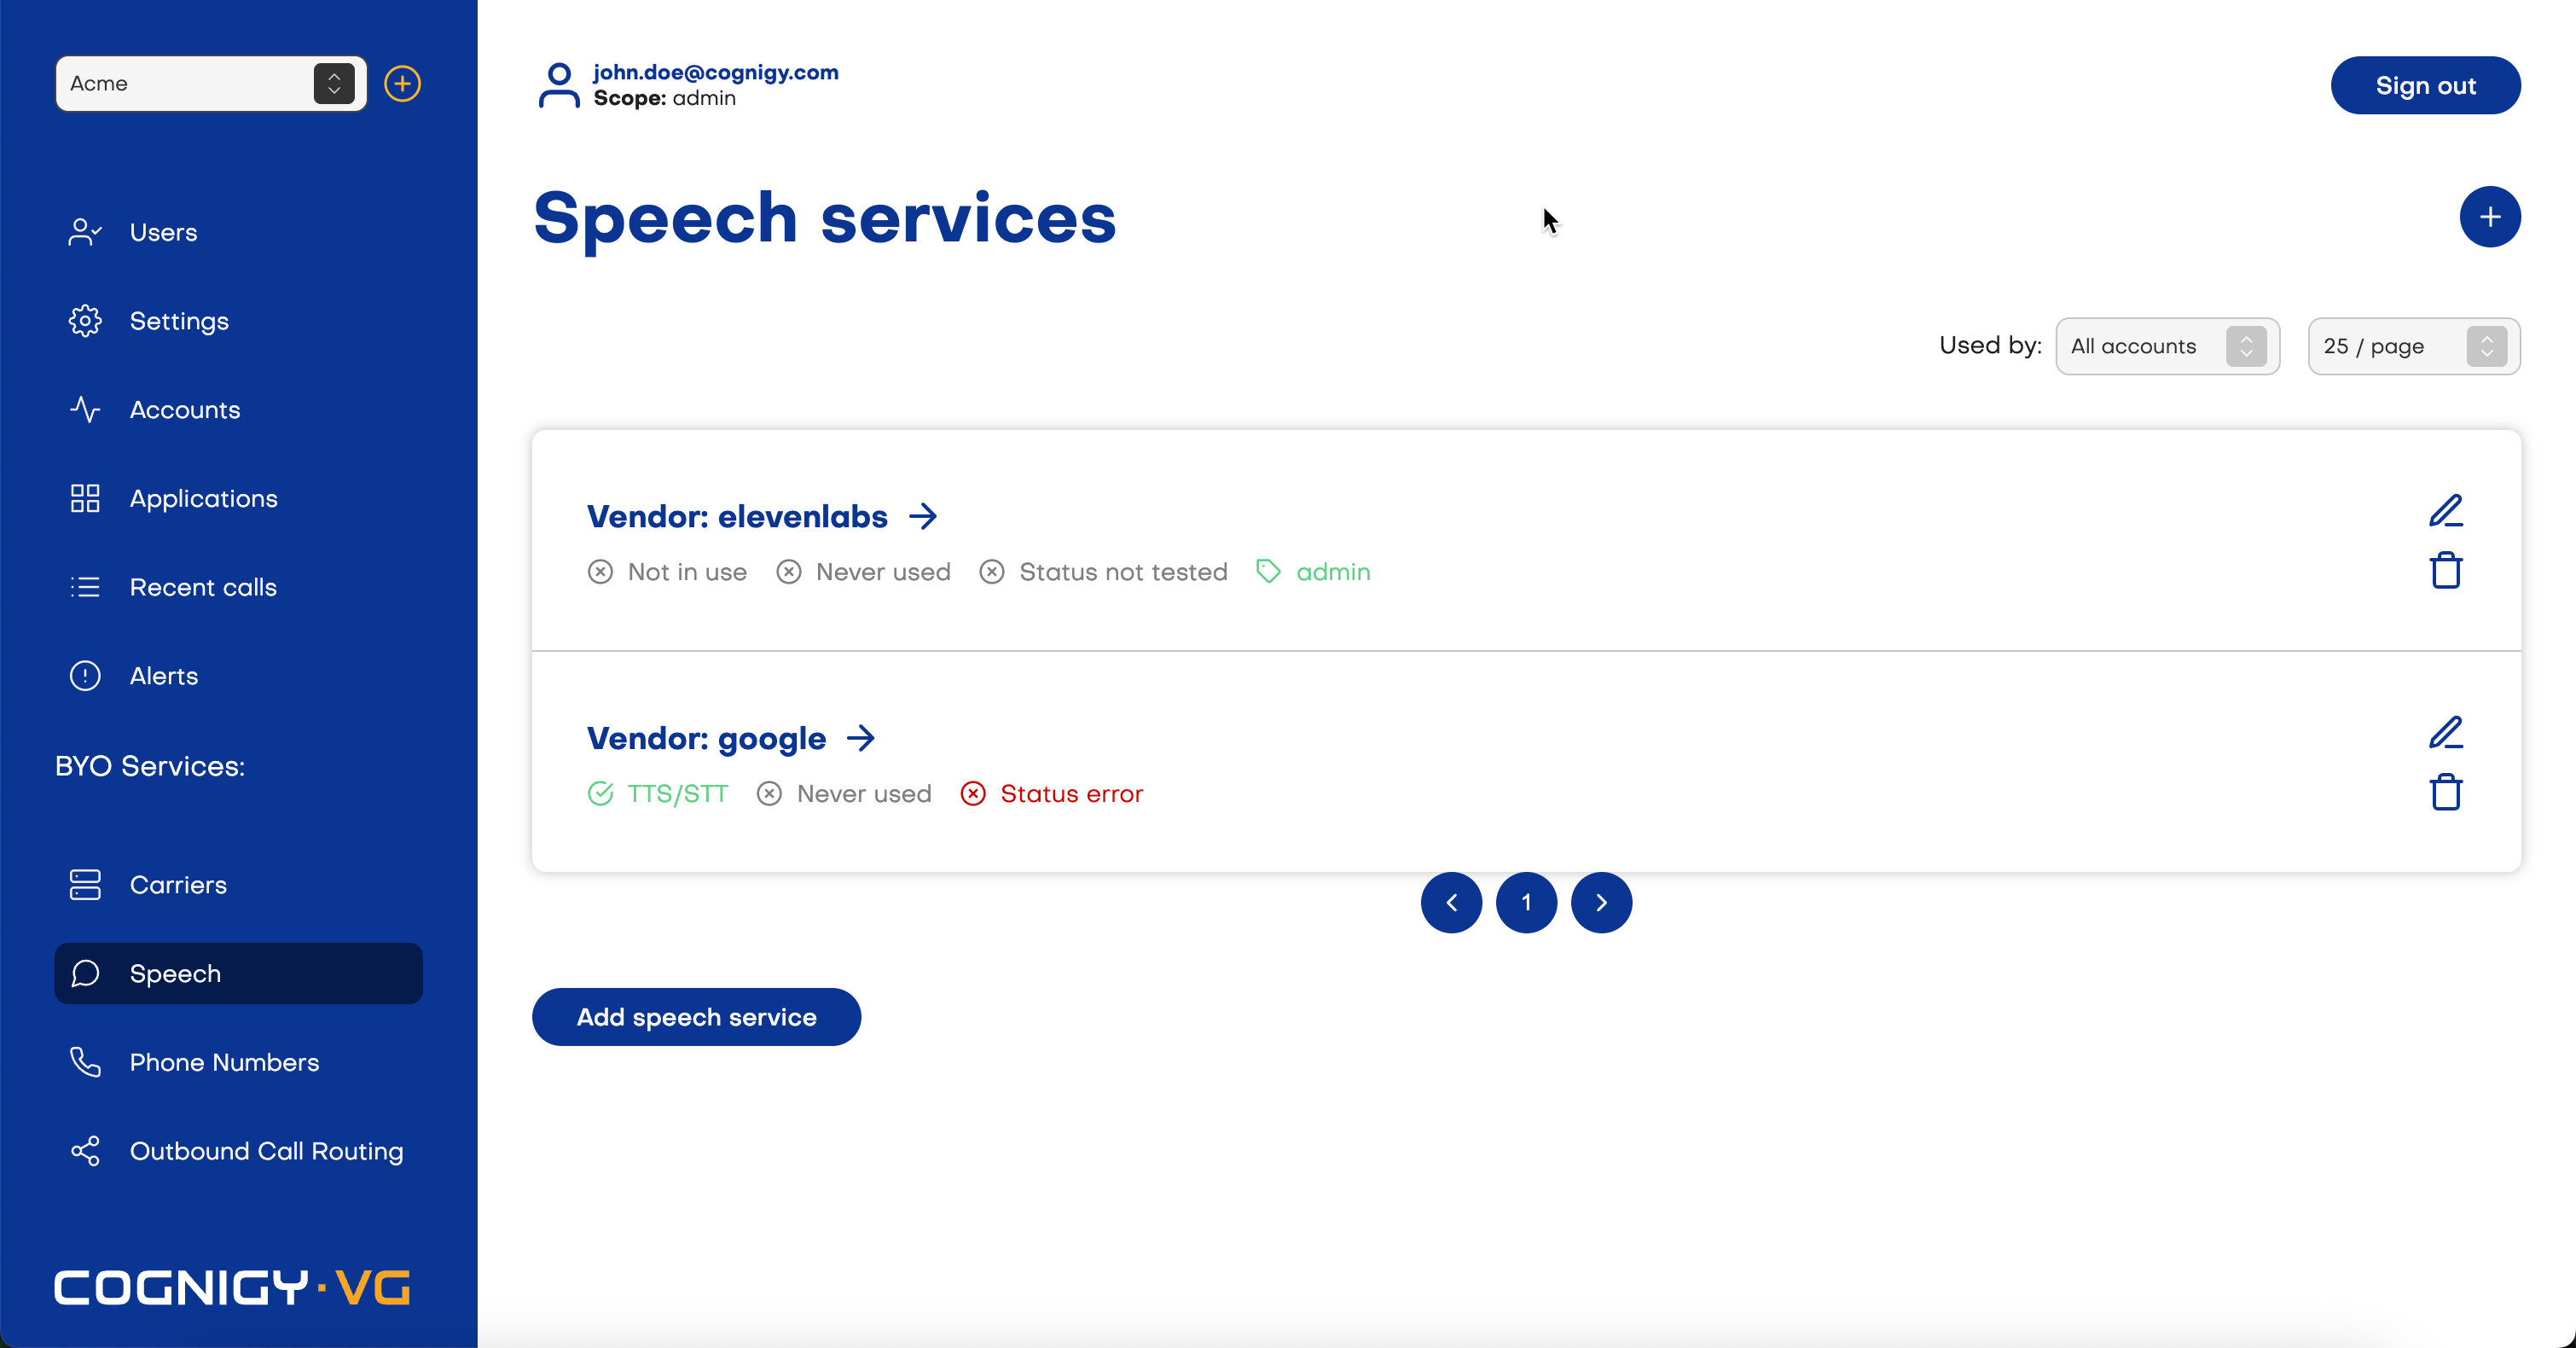
To configure the connection for a cloud-based speech service:- In the left-side menu of the Voice Gateway Self-Service Portal, select Speech.
- Click Add Speech Service and select your preferred vendor.
- Select the account you want to use it with.
- (Optional) If you need to create multiple speech services from the same vendor, use the Label field to create a unique speech service.
- Select Speech-To-Text, Text-To-Speech or both, depending on your use case.
- (Optional) If you enable TTS, the Enable text-to-speech streaming option appears. Activate this option to enable TTS streaming for your voice AI Agent. Note that some providers might not support TTS streaming. For more information, see TTS Streaming.
- Follow further instructions according to your selected vendor:
- Amazon Polly
- Deepgram
- Deepgram Flux
- ElevenLabs
- Google
- Microsoft Azure
- Nuance
- Speechmatics
- Make sure you have set the following IAM policies:
Amazon Polly Minimal IAM Policy (TTS)
Amazon Polly Minimal IAM Policy (TTS)
To use Amazon Polly as a TTS service, you need at least the following IAM policy:Where:
polly:SynthesizeSpeech— allows the service to synthesize speech.polly:DescribeVoices— allows the service to list the available voices.*— allows the service to access all resources. AWS doesn’t support resource-level restrictions.
Amazon Transcribe Minimal IAM Policy (STT)
Amazon Transcribe Minimal IAM Policy (STT)
Voice Gateway uses real-time streaming transcription for speech recognition. To use Amazon Polly’s speech services, you need to configure Amazon Transcribe’s STT policy to allow real-time streaming transcription. To do so, configure at least the following IAM policies:Where:
transcribe:StartStreamTranscription— allows the service to start a real-time streaming transcription.transcribe:StartStreamTranscriptionWebSocket— allows the service to start a real-time streaming transcription via WebSocket.*— allows the service to access all resources. AWS doesn’t support resource-level restrictions.
- Enter the Access Key in the Access key ID field. For more information on AWS Access Keys, read the Amazon AWS documentation.
- Enter the Secret Access Key in the Secret access key field.
- Select a region from the Region list.
On-Premises Speech Services
- In the left-side menu of the Voice Gateway Self-Service Portal, select Speech.
- Click Add Speech Service and select your preferred vendor.
- Select the account you want to use it with.
- (Optional) If you need to create multiple speech services from the same vendor, use the Label field to create a unique speech service.
- Select Speech-To-Text, Text-To-Speech or both, depending on your use case.
- (Optional) If you enable TTS, the Enable text-to-speech streaming option appears. Activate this option to enable TTS streaming for your voice AI Agent. Note that some providers might not support TTS streaming. For more information, see TTS Streaming.
- Follow further instructions according to your selected vendor:
- Deepgram
- Nuance
- Microsoft Azure Speech Services
- Select Use on-prem Deepgram container.
- Enter the container URI for STT and TTS in the Container URI field.
- Select Use TLS, if required.
Add Custom Speech Vendors
If the desired vendor is not included in the list of preinstalled vendors, or if you want to modify the configuration of an existing one, you can add a custom vendor. Before adding a vendor to the Voice Gateway, you need to create it. To do this, use the custom-speech-example template on GitHub. Using the same template, you can customize vendors that are provided in it as examples, such as Google, AssemblyAI, and Vosk, or create a new one. After you have created the custom provider, deploy it on a server, for example, in the AWS Cloud, then copy the address of the custom provider for use in the Voice Gateway. To add a custom speech vendor, follow these steps:- In the left-side menu of the Voice Gateway Self-Service Portal, select Speech.
- On the Speech services page, click Add speech service.
- On the Add a speech service page, select Custom from the Vendor list.
- In the Name field, specify a unique name for your provider. You need to reuse this name in the Node configuration.
- From the Account list, select a specific account or leave the All accounts value if you want the custom speech provider to be available for all accounts.
- In the Label field, create a label only if you need to create multiple speech services from the same vendor. Then, in your application, use the label to specify which service to use.
- Activate the Use for text-to-speech setting to use this provider as a TTS vendor. Enter the TTS HTTP URL of the server where your custom vendor is deployed.
- (Optional) If you enable TTS, the Enable text-to-speech streaming option appears. Activate this option to enable TTS streaming for your voice AI Agent. Note that some providers might not support TTS streaming. For more information, see TTS Streaming.
- Activate the Use for speech-to-text setting to use this provider as an STT vendor. Enter the STT WebSocket URL of the server where your custom vendor is deployed.
- In the Authentication Token field, enter the key that you get from your TTS or STT vendor to set up a connection.
- Click Save.
More Information
1: The EU environment is isolated, and custom voices aren’t available in it by default. To use custom voices in the EU environment, you need to share them from non-isolated environments. For more information on sharing resources from non-isolated environments, read the respective instructions in the ElevenLabs documentation.