Updated in 4.69
Applications are connectors
that allow the Endpoint to be routed to Voice Gateway.
These applications set default values, including the default speech vendor,
language, and voice, for the Text-To-Speech output and Speech-To-Text recognition.
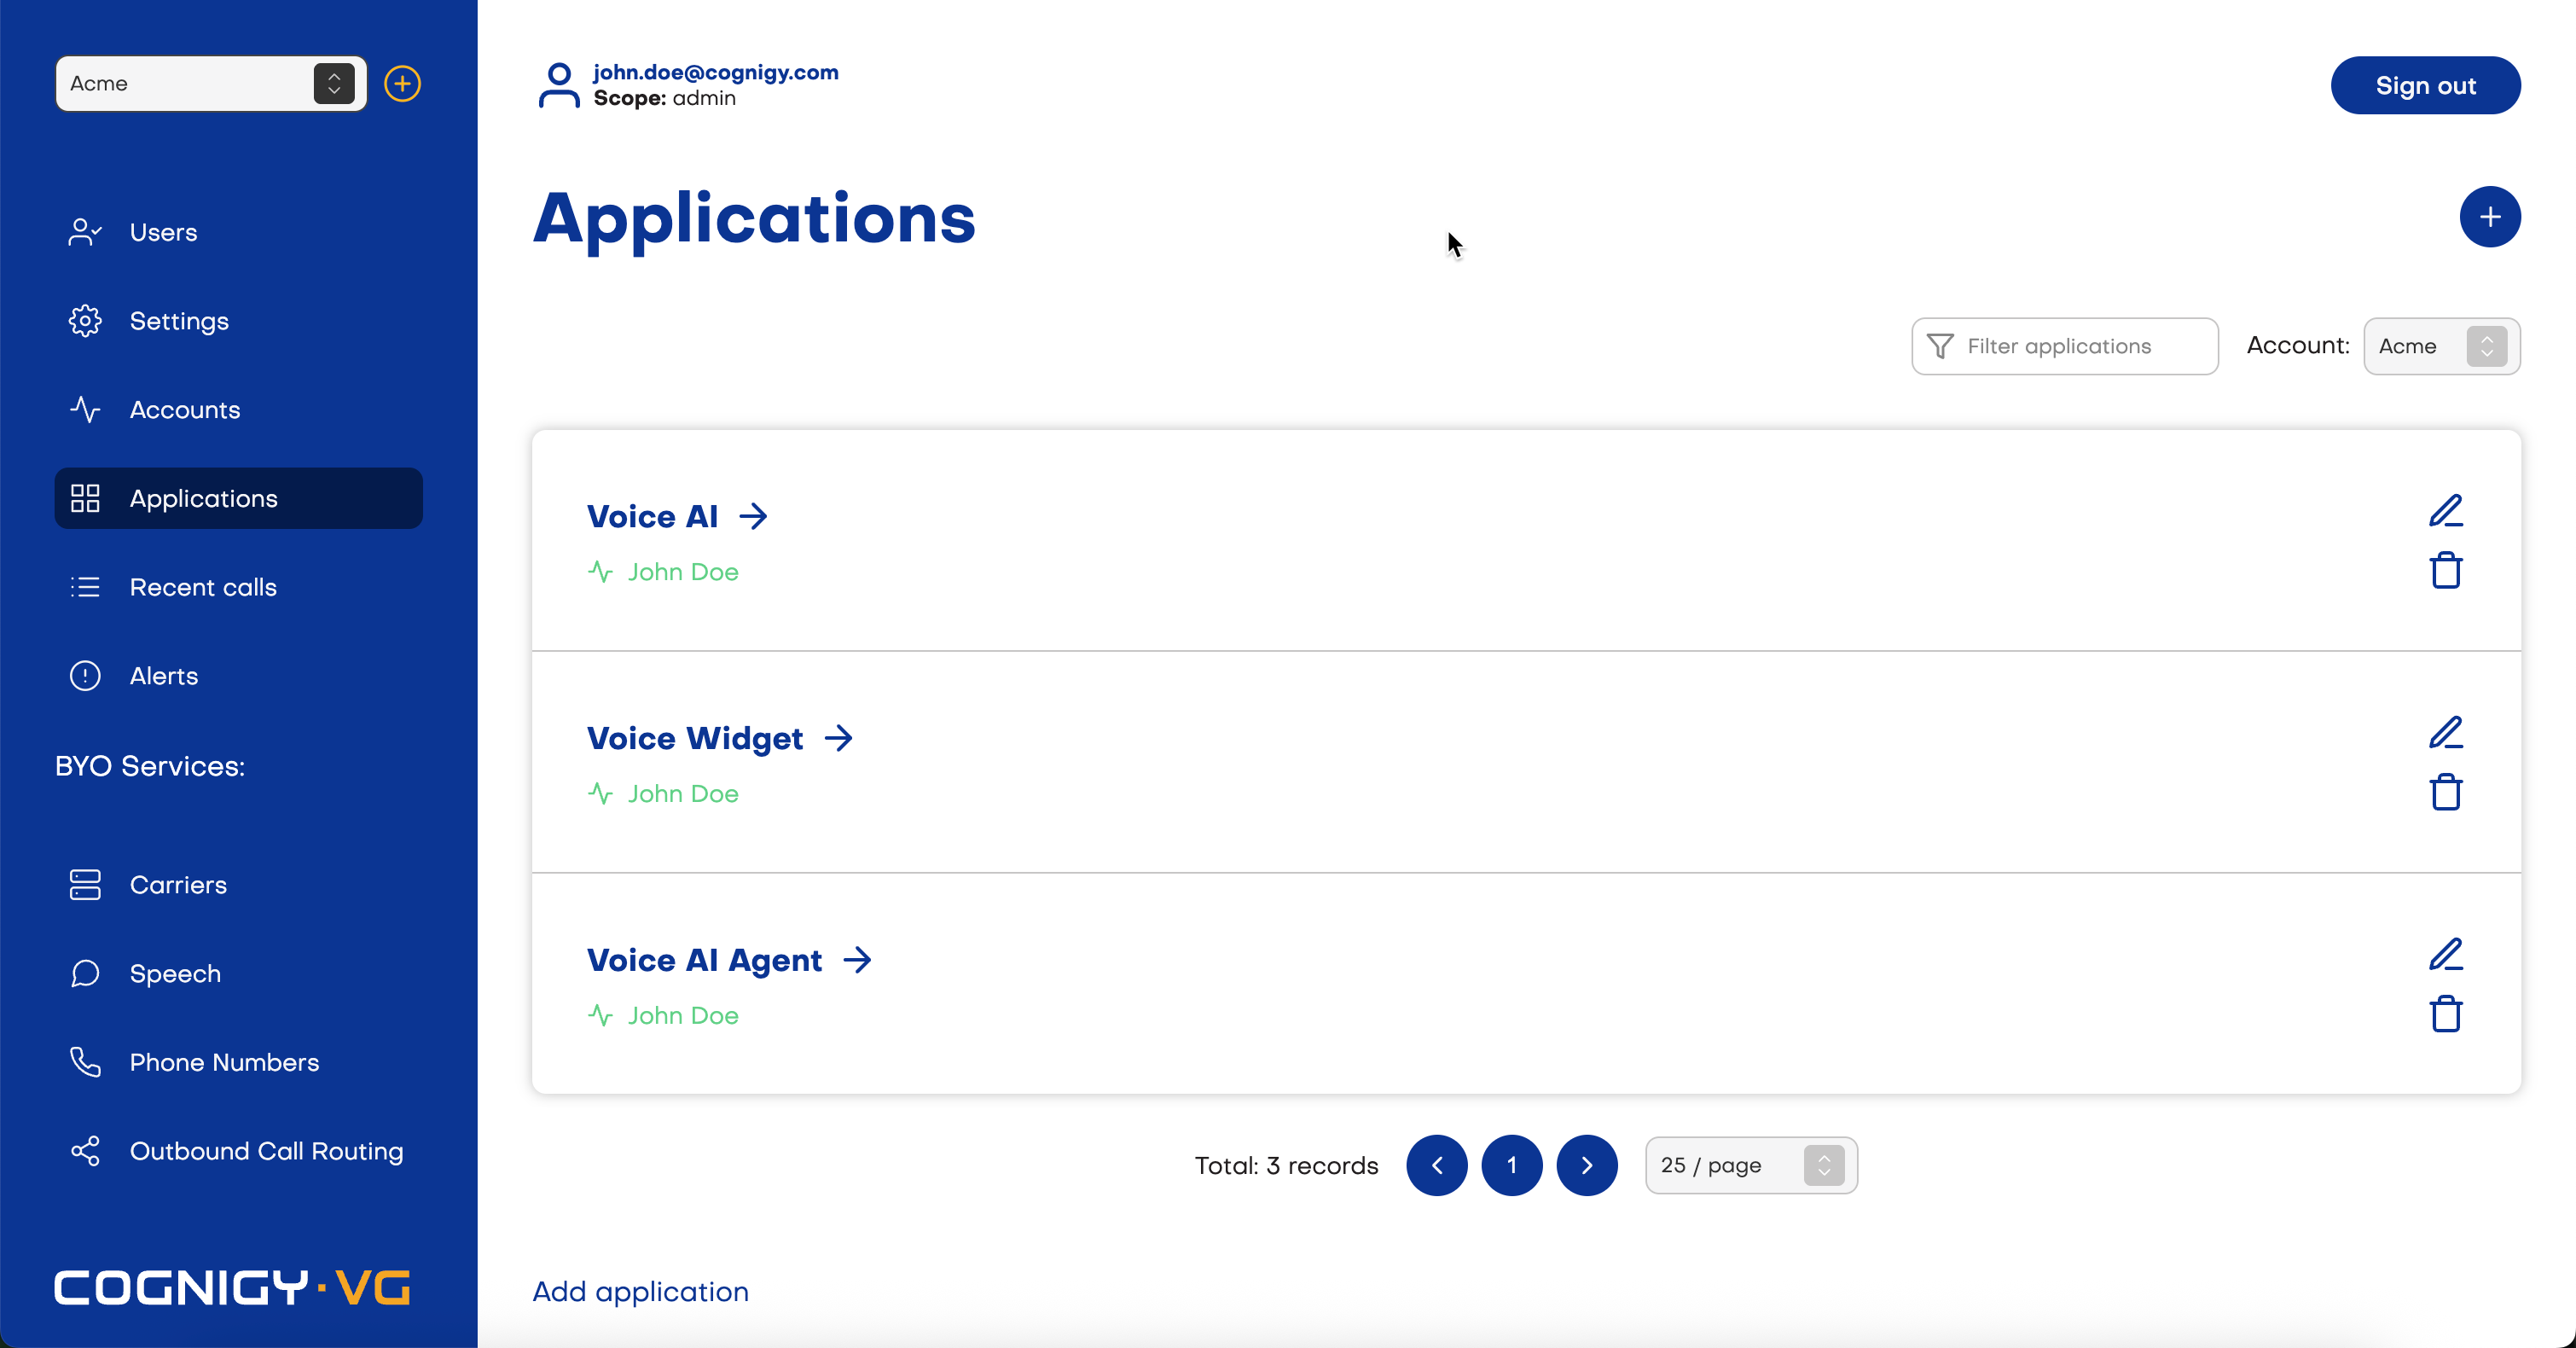
To create an application, select Applications in the left-side menu, then click Add application or +.
You can create more than one application, dependent on the number of Endpoints created in Cognigy.AI.
After creating an application, you can edit or delete it.
Settings
Add Additional TTS and STT Vendor
To add extra vendor, follow these steps:
- In the left-side menu of the Voice Gateway Self-Service Portal, select Applications.
- Create a new application or use an existing one.
- On the application page, activate the Use a fallback speech vendor if primary fails setting.
- Choose the vendor type you want to add (STT or TTS) or add both at once:
- TTS:
- Speech synthesis vendor — select a TTS vendor from the list.
- Label — specify the alternative name of the vendor in the Label field if you have the default vendor with the same credentials.
- Language — select a primary language.
- Voice — select a primary voice for the AI Agent.
- STT:
- Speech recognizer vendor — select an STT vendor from the list.
- Label — specify the alternative name of the vendor in the Label field if you have the default vendor with the same credentials.
- Language — select a primary language.
- (Optional) Click Swap primary and fallback. The primary and fallback credentials will change places.
- Click Save.
The changes take effect.
Call recording configuration
Call recordings can be enabled at an account or application level for debugging purposes.
To enable this feature and store your calls, you must provide credentials for a bucket vendor. After a call is recorded,
an admin can listen to and review recordings on the Recent calls page.
Note that this feature records the entire call, and you cannot manage it within a Cognigy.AI Flow.
If you want to control call recording in your Flow, use a Call Recording Node.
This Node enables you to store and record calls; you can start, stop, and pause recordings at any point.
After a call is recorded,
an admin can listen to and review recordings on the Recent calls page.
Application level recording
When enabled at the application level, only calls from a specific application will be recorded.
To enable recording calls at an application level, follow these steps:
-
In the left-side menu of the Voice Gateway Self-Service Portal, select Applications.
-
Create a new application or use an existing one.
-
In the Call recording configuration section, click the option for Enable call recording.
-
In the Audio Format field, choose between
.wav and .mp3 formats.
-
Select a bucket vendor:
Amazon S3
Google Cloud Storage
Azure Cloud Storage
- Bucket Name — provide the name of your bucket.
- Region — choose the region for your storage from the list.
- Access key ID — provide the access key ID for your bucket.
- Secret access key — provide the secret access key ID for your bucket.
- S3 Tags — provide any S3 tags with name and value as needed.
- Bucket Name — provide the name of your bucket.
- Service key — provide a JSON key for a Service Account with APIs enabled for Cloud Storage and Storage Transfer API.
- Google Cloud Storage Tags — provide any Google Cloud Storage tags with name and value as needed.
- Container Name — provide the name of your container.
- Connection String — provide a connection string.
- Azure Cloud Storage Tags — provide any Azure Cloud Storage tags with name and value as needed.
-
Click Test to verify your connection.
-
Go to Applications and select the Account from the dropdown box on the right side of the screen.
-
Click the application to edit.
-
Scroll down to the Call recording configuration section, activate the Record all calls setting. This setting is hidden if you’ve enabled Record all calls for this account at the account level.
-
Click Save.
All calls from this application will be recorded and appear in the Recent calls page.
Call Forwarding
If Voice Gateway fails to establish a connection with Cognigy.AI at the start of a call, you can forward the call to another number. For example, if an AI Agent is unavailable, the call is redirected, for example, to a contact center, where a human agent could help the customer. If the call forwarded to the contact center fails, Voice Gateway terminates the connection.
To configure call forwarding, follow these steps:
- In the left-side menu of the Voice Gateway Self-Service Portal, select Applications.
- Create a new application or use an existing one.
- On the Edit application page, activate the Perform a fallback transfer if webhook connection fails setting.
- Select your preferred method for call redirection:
- From the Transfer type list, select Refer.
- (Optional) In the Reason field, specify the reason for transferring a call, for example,
Cognigy.AI connection wasn't established. The value will be transmitted in the "X-Reason": "<reason>" format within a custom SIP header and will be present in the pcap file on the recipient’s side for further analysis.
- In the Target field, specify the telephone number to which the call will be redirected. The number must be in the international format (E.164), starting with a
+ sign.
- (Optional) In the Referred-by field, change the original Referred By value, which can be a SIP URI or a user identifier such as a phone number. This field helps to filter out unwanted incoming calls. You can use the following patterns:
- SIP URI - sip:[referred-by]@custom.domain.com. In this case, the entire SIP URI will be sent as the Referred-By header. Example: "Referred-by": "sip:CognigyOutbound@custom.domain.com".
- User Identifier - sip:[referred-by]@[SIP FROM Domain from carrier config]. Example: "Referred-By": "sip:CognigyOutbound@sip.cognigy.ai".
-
From the Transfer type list, select Dial.
-
(Optional) In the Reason field, specify the reason for transferring a call, for example,
Cognigy.AI connection wasn't established. The value will be transmitted in the "X-Reason": "<reason>" format within a custom SIP header and will be present in the .pcap file on the recipient’s side for further analysis.
-
In the Target field, specify the telephone number to which the call will be redirected. The number must be in the international format (E.164), starting with a
+ sign.
-
(Optional) In the Caller ID field, specify the caller ID. Note that some carriers, such as Twilio, may require a registered number for outgoing calls.
-
Click Save.
Last modified on June 15, 2026