Before you Begin
Check the Agent Copilot availability for your installation:- For trial and SaaS, Agent Copilot is automatically activated.
- For on-premises, install Agent Copilot with Cognigy.AI Helm Chart.
Set up Flows
To provide additional real-time information to your agents, this assistant uses a Flow. To set up an assistant, you need to have two separate flows:- The Main Flow where the primary logic is defined.
- A Flow where the logic for your assistant will be implemented.
You don’t need to include the Handover Node in the assistant’s Flow, as using the Handover to Human Agent Node in the main Live Agent Flow is enough for the configuration process.To provide helpful information to your agents, create Intents and use Lookup Nodes with Say Nodes based on customer inputs.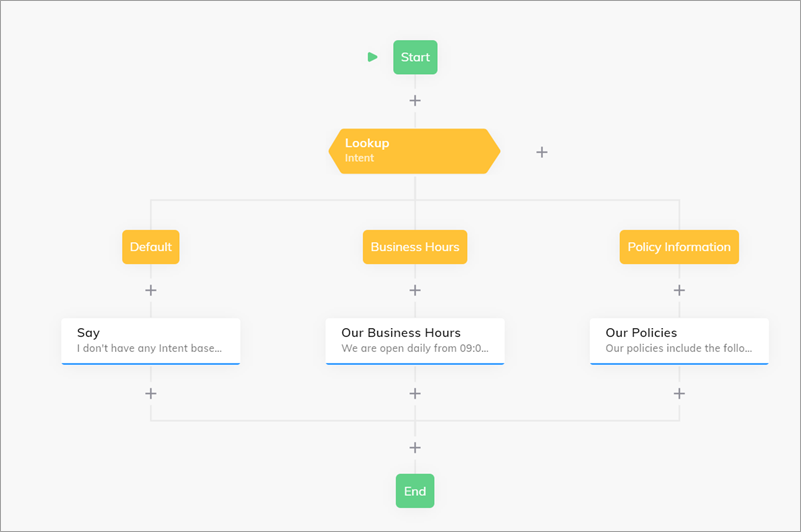
Set up Endpoints
To configure your Endpoint:- Go to Deploy > Endpoints.
- Go to your Webchat Endpoint.
- Scroll down to Handover Settings and select Cognigy Live Agent from the list.
- Go to the Copilot section.
- In the Copilot Config field, select a config you recently created via API.
- Click Save.
- In Live Agent, go to Profile settings > AI Copilot and select Enable AI Copilot Workspace. Alternatively, you can activate the Workspace for all human agents in your project. To do this, go to Settings > Account Settings > AI Copilot Workspace and select Enable AI Copilot Workspace, then click Update Settings.
Test Agent Copilot Workspace
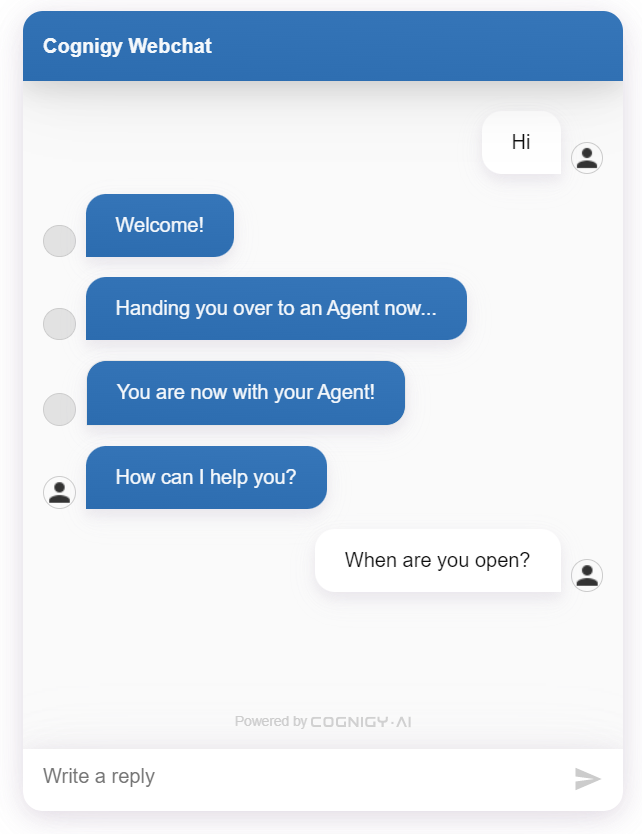
To test Agent Copilot, follow these steps:- Start a Webchat session.
- Complete the handover process to Live Agent.
- Once the handover is complete, send a message as a human agent.
- After that, send a message as the user in Webchat.