

Install Helm Charts
To install Cognigy.AI perform the following steps:- Install MongoDB database with MongoDB Helm Chart for Cognigy.AI. For up-to-date installation instructions, refer to README.md.
- Install Cognigy.AI with Cognigy.AI Helm Chart. For up-to-date installation instructions, refer to README.md.
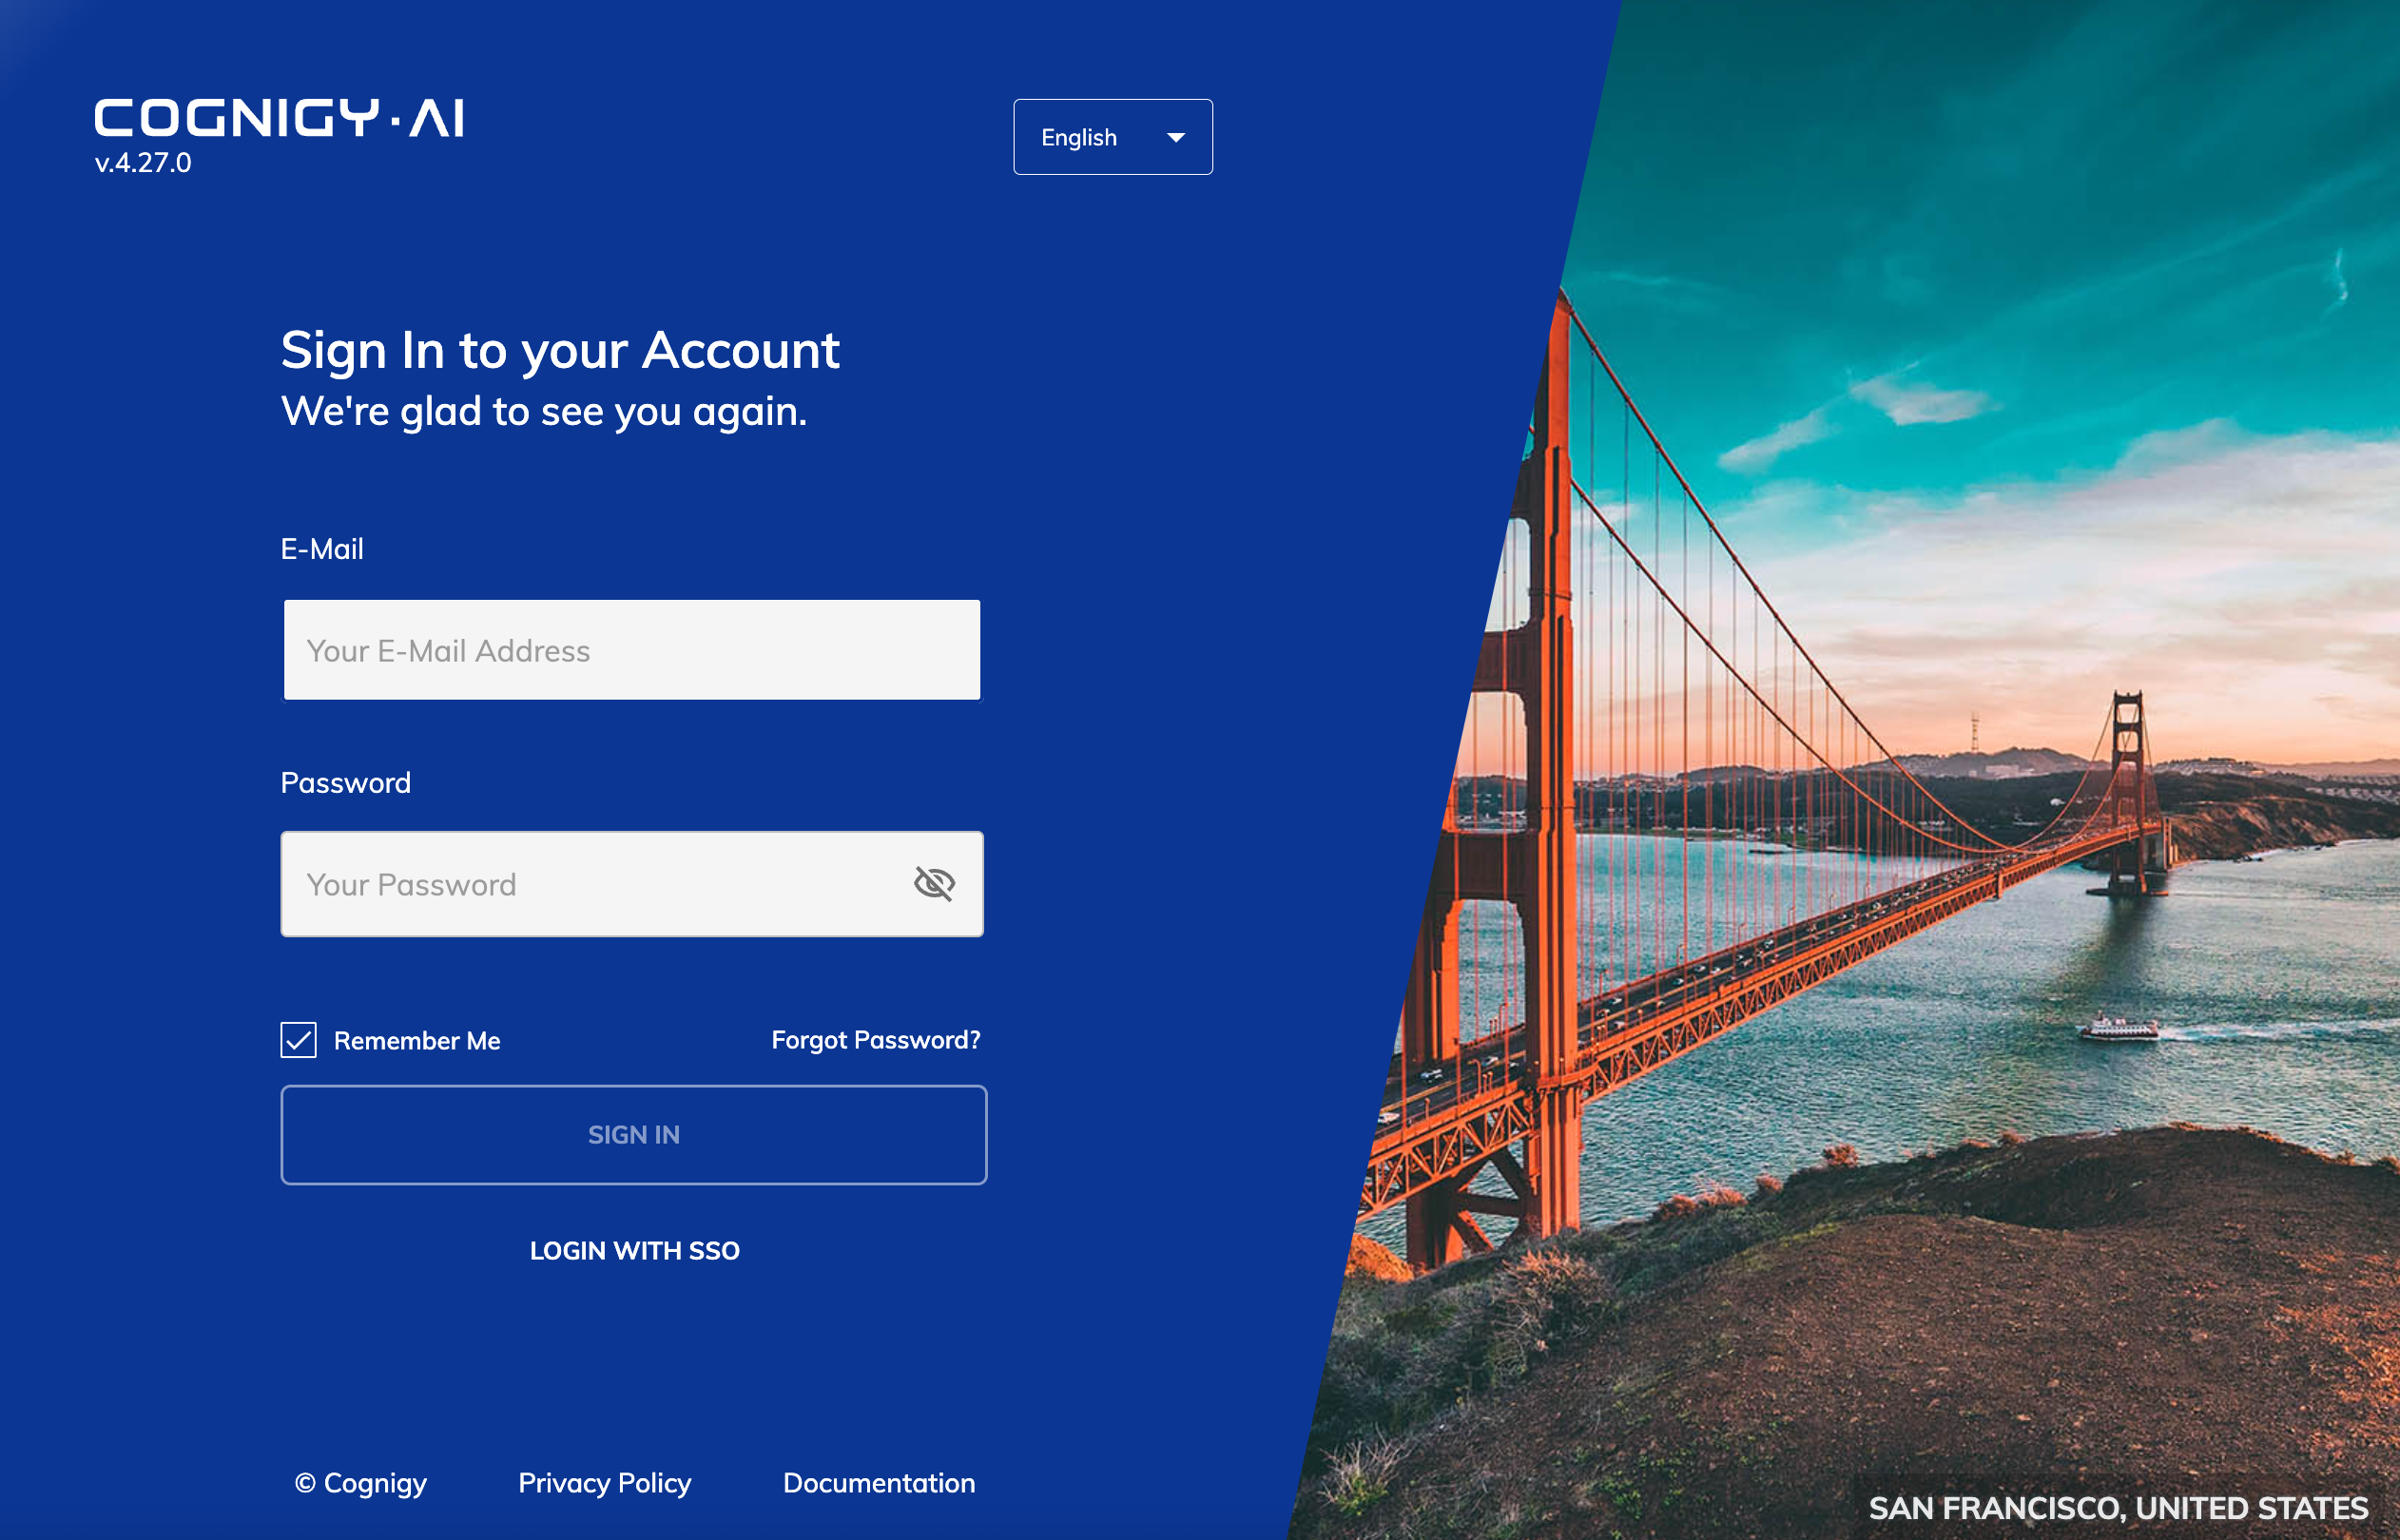
serviceUi.host parameter Cognigy.AI Helm release. You should be able to see the login screen of Cognigy.AI frontend application:
Retrieve Login Credentials
Once you are able to see the Cognigy.AI login screen, you might wonder which credentials can be used to log in. We chose not to add defaultadmin user with static-credentials as such users will often not get properly removed from systems and leave software products exposed to potential security attacks. Our system creates random credentials on startup if no credentials exist within the system yet. The credentials will get printed into service-security deployment logs during its first start-up, to retrieve the initial credentials execute:
service-security deployment gets restarted several times during provisioning and the initial logs are not visible anymore. If service-security has restarted only once, you can obtain the logs of the previous container with --previous flag:
service-security was restarted several times, to reset init user credentials, you will need to drop service-security database in MongoDB database and restart service-security deployment.
IMPORTANT: All Organizations and Users will be lost during this process. Perform it only during initial Cognigy.AI setup. Here is a separate document on how to Reset Initial Credentials.
License Key Activation
Once you obtained the initial user credentials, visit the web interface of Cognigy.AI, but replace the URL ending/login with /license.
This will open our license activation screen, which looks quite similar to the login-form but with an additional license-key field:
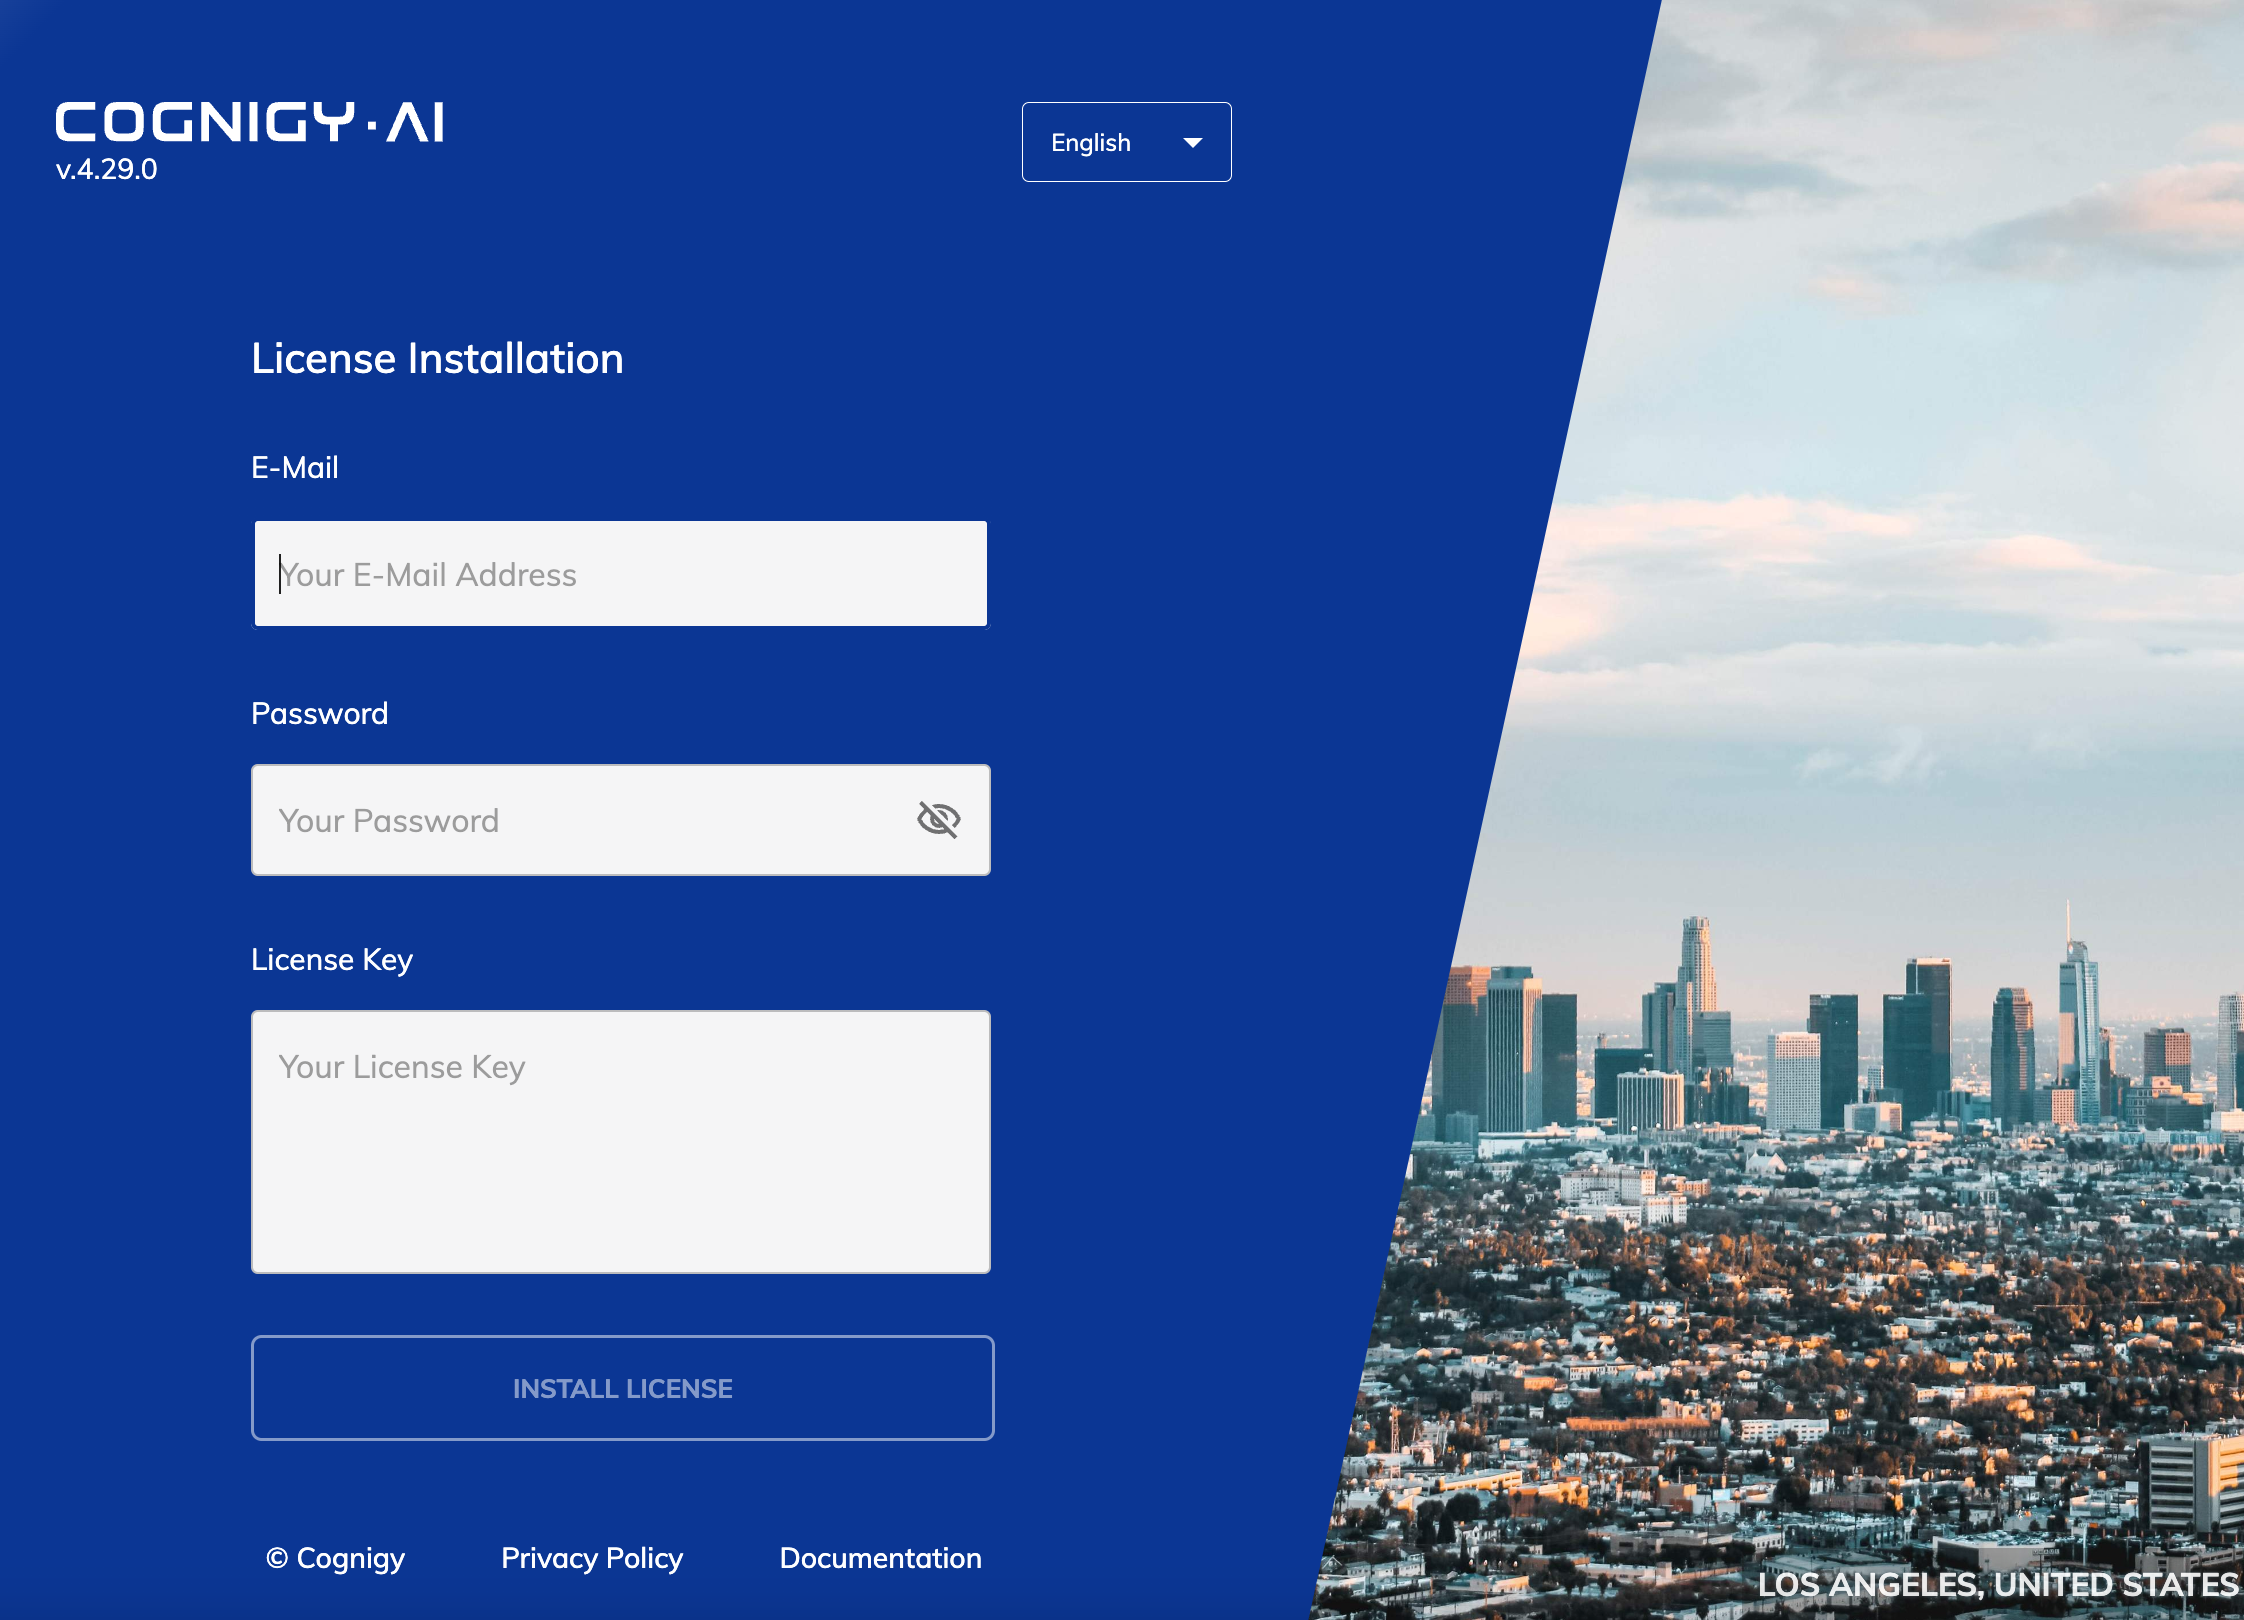
====BEGIN LICENSE==== and =====END LICENSE===== delimiters) and click Activate license. If everything worked, the application will redirect to the login screen on which you can log in to finally get start to use Cognigy.AI.