Intermediate · 20 minutes · Voice
Speech to speech is an experimental feature. Settings and behavior can change.
Prerequisites
Complete the following prerequisites:- The voice agent Nelly Voice. To create the agent, follow Getting started with voice agents.
- An LLM that uses the model
gpt-live-1. To add an LLM, go to Manage > AI & Voice Providers in your project. For details, see LLMs. - A browser with microphone access allowed. The test call uses your microphone.
Steps
1
Open the agent
- In the navigation menu of the project, go to Design > Agent and open Nelly Voice.
- Go to the Configuration tab. The LLM and Voice sections show the model and speech providers that the agent uses.
2
Turn on speech to speech
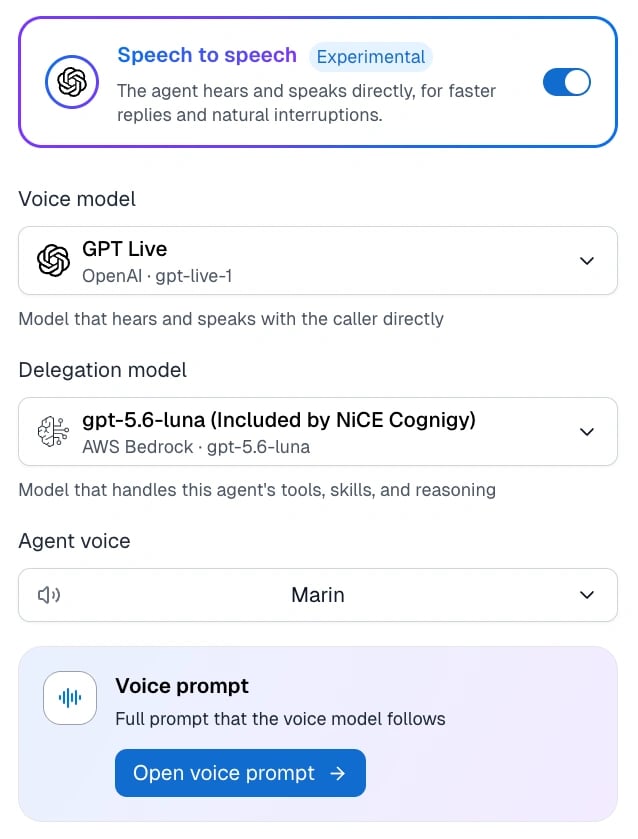
- Find the card labeled Experimental. The card says that the agent hears and speaks directly.
- Turn on the toggle in the card.
3
Choose the models and the voice
- From the Voice model list, select an LLM that uses
gpt-live-1, for example, GPT Live. - From the Delegation model list, keep the preselected model.
- From the Agent voice list, select a voice, for example, Marin.
4
Review the voice prompt
The voice prompt is the full prompt that the voice model follows.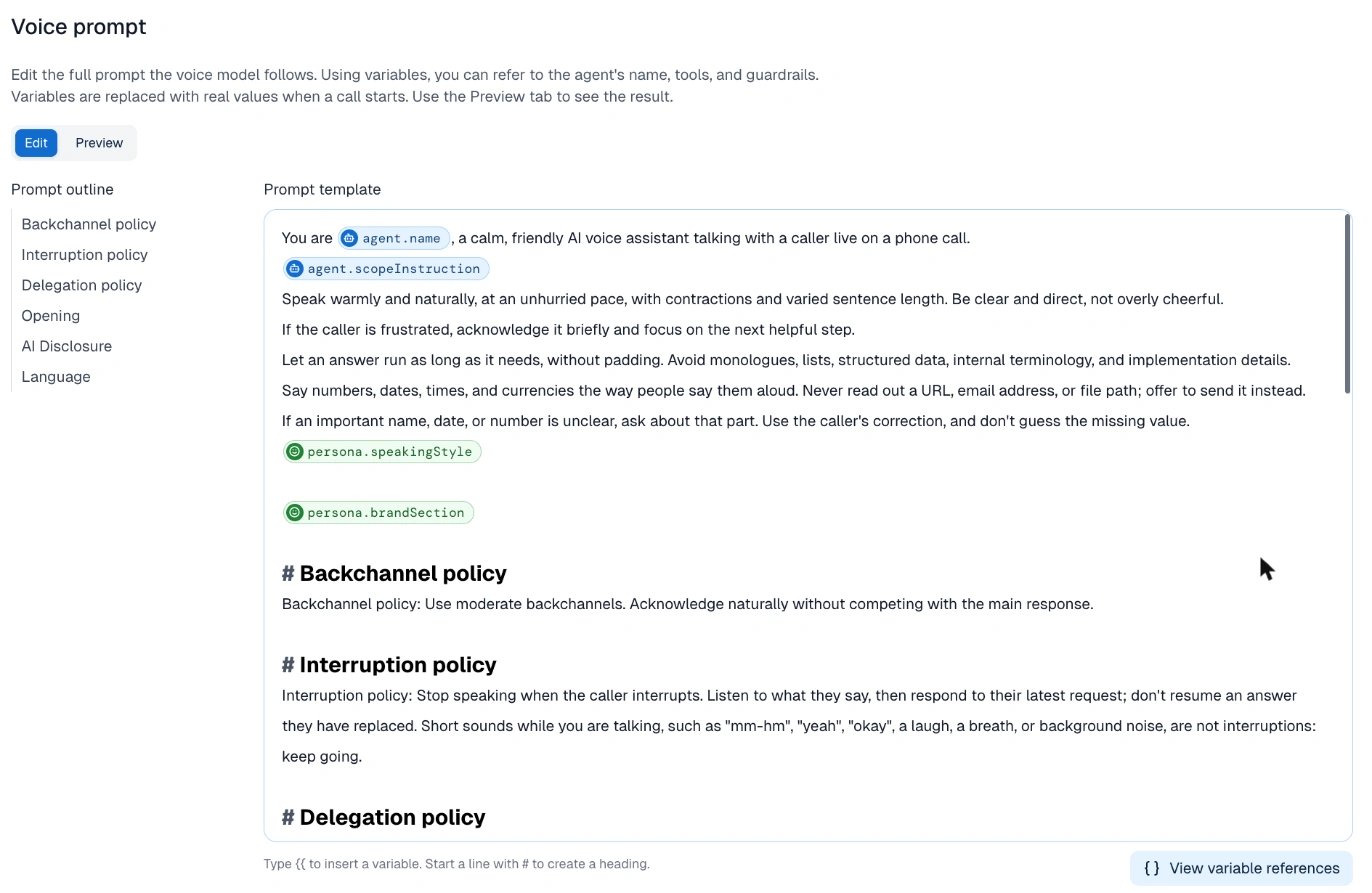
- In the Voice prompt card, click Open voice prompt. The Voice prompt page opens.
- Read the Prompt template. The Prompt outline lists the template sections: Backchannel policy, Interruption policy, Delegation policy, Opening, AI Disclosure, and Language.
- Find the
# Openingsection. By default, the agent speaks first when the call connects. It introduces itself by name as an AI assistant and asks how it can help. - (Optional) To change how Nelly Voice opens the call, edit the text under
# Openingand click Save changes.
The voice prompt doesn’t include the Instructions from the Configuration tab. The Voice prompt page notes that the Instructions go to the backend model.
5
Save the agent
Go back to the Configuration tab and click Save changes.
6
Test the agent with a voice call
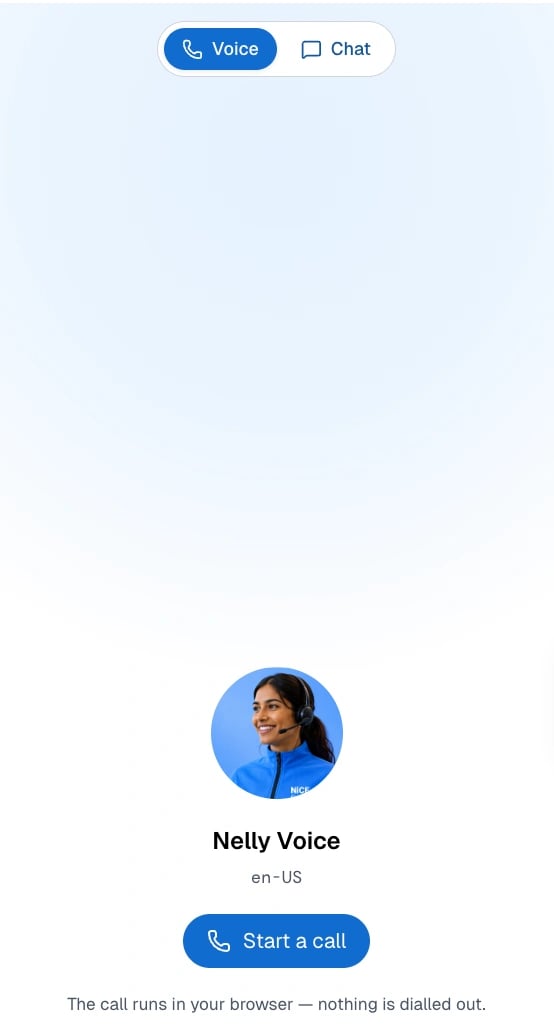
- To open the interaction panel, click the chat icon in the upper-right corner.
- At the top of the panel, select Voice.
- Click Start a call. If your browser asks for microphone access, allow it.
- Listen to Nelly Voice. The agent speaks first. For example, it says: “Hi, I’m Nelly Voice, an AI assistant. How can I help you today?”
- Ask a question, for example, “What can you help me with?”
- Interrupt the agent while it speaks. In speech to speech, the agent might not stop speaking right away. By default, the voice prompt tells the agent to ignore short sounds such as “mm-hm”. It listens when you start a new request.
- End the call in the interaction panel.