Live Agent has been put in maintenance mode. The product will continue to be maintained in the foreseeable future. Users can continue to fully rely on Live Agent being available. In future releases, only security updates and bug fixes will be provided; no new features will be released.
After setting up Live Agent for your organization, configure your default Live Agent inbox.

Create a project inbox

To create a new inbox for the project, follow these steps:
  1. In the Cognigy interface, open an existing project.
  2. In the navigation menu, click Manage > Settings.
  3. Scroll down and find Live Agent Settings.
  4. Click Create Cognigy Live Agent Inbox.
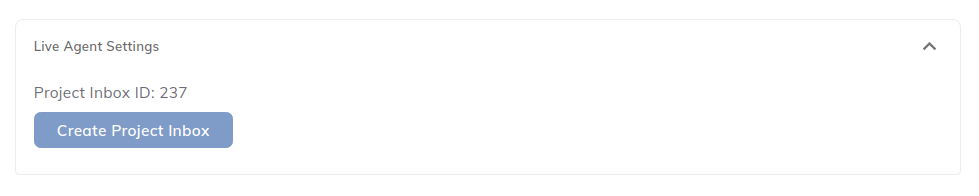
Once the inbox is created, Overwrite Cognigy Live Agent Inbox replaces the Create Cognigy Live Agent Inbox button, and the section shows the Cognigy Live Agent Inbox ID.
Live Agent settings showing the inbox ID after inbox creation

Troubleshooting

Create Cognigy Live Agent inbox disabled

The Create Cognigy Live Agent Inbox button could also be disabled for the following reasons:
  • You don’t have the Cognigy Live Agent feature enabled.
  • The organization doesn’t have a Live Agent account set up.
  • You don’t have permissions to create an inbox for the project.
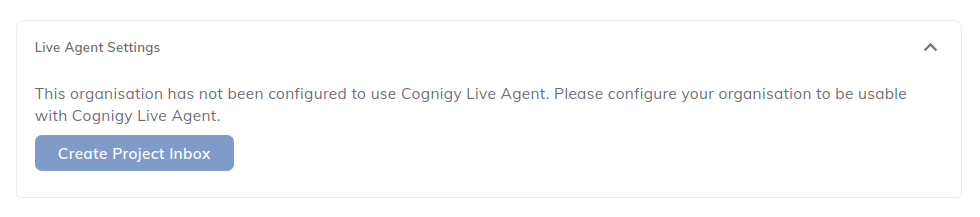
Example 1 The Cognigy Live Agent feature isn’t enabled, or a Live Agent account isn’t set up at the organizational level.
Disabled Create Cognigy Live Agent Inbox button when Live Agent isn't enabled or configured
Example 2 You don’t have permissions to create an inbox for Live Agent.
Disabled Create Cognigy Live Agent Inbox button when the user lacks permissions
If you have both Theming enabled and the Cognigy Live Agent feature disabled, the Live Agent Settings section on both the Admin Center and project Settings pages won’t be displayed.

What’s next?

Now you need to set up handover for Live Agent.
Last modified on November 11, 2026
