| General | | |
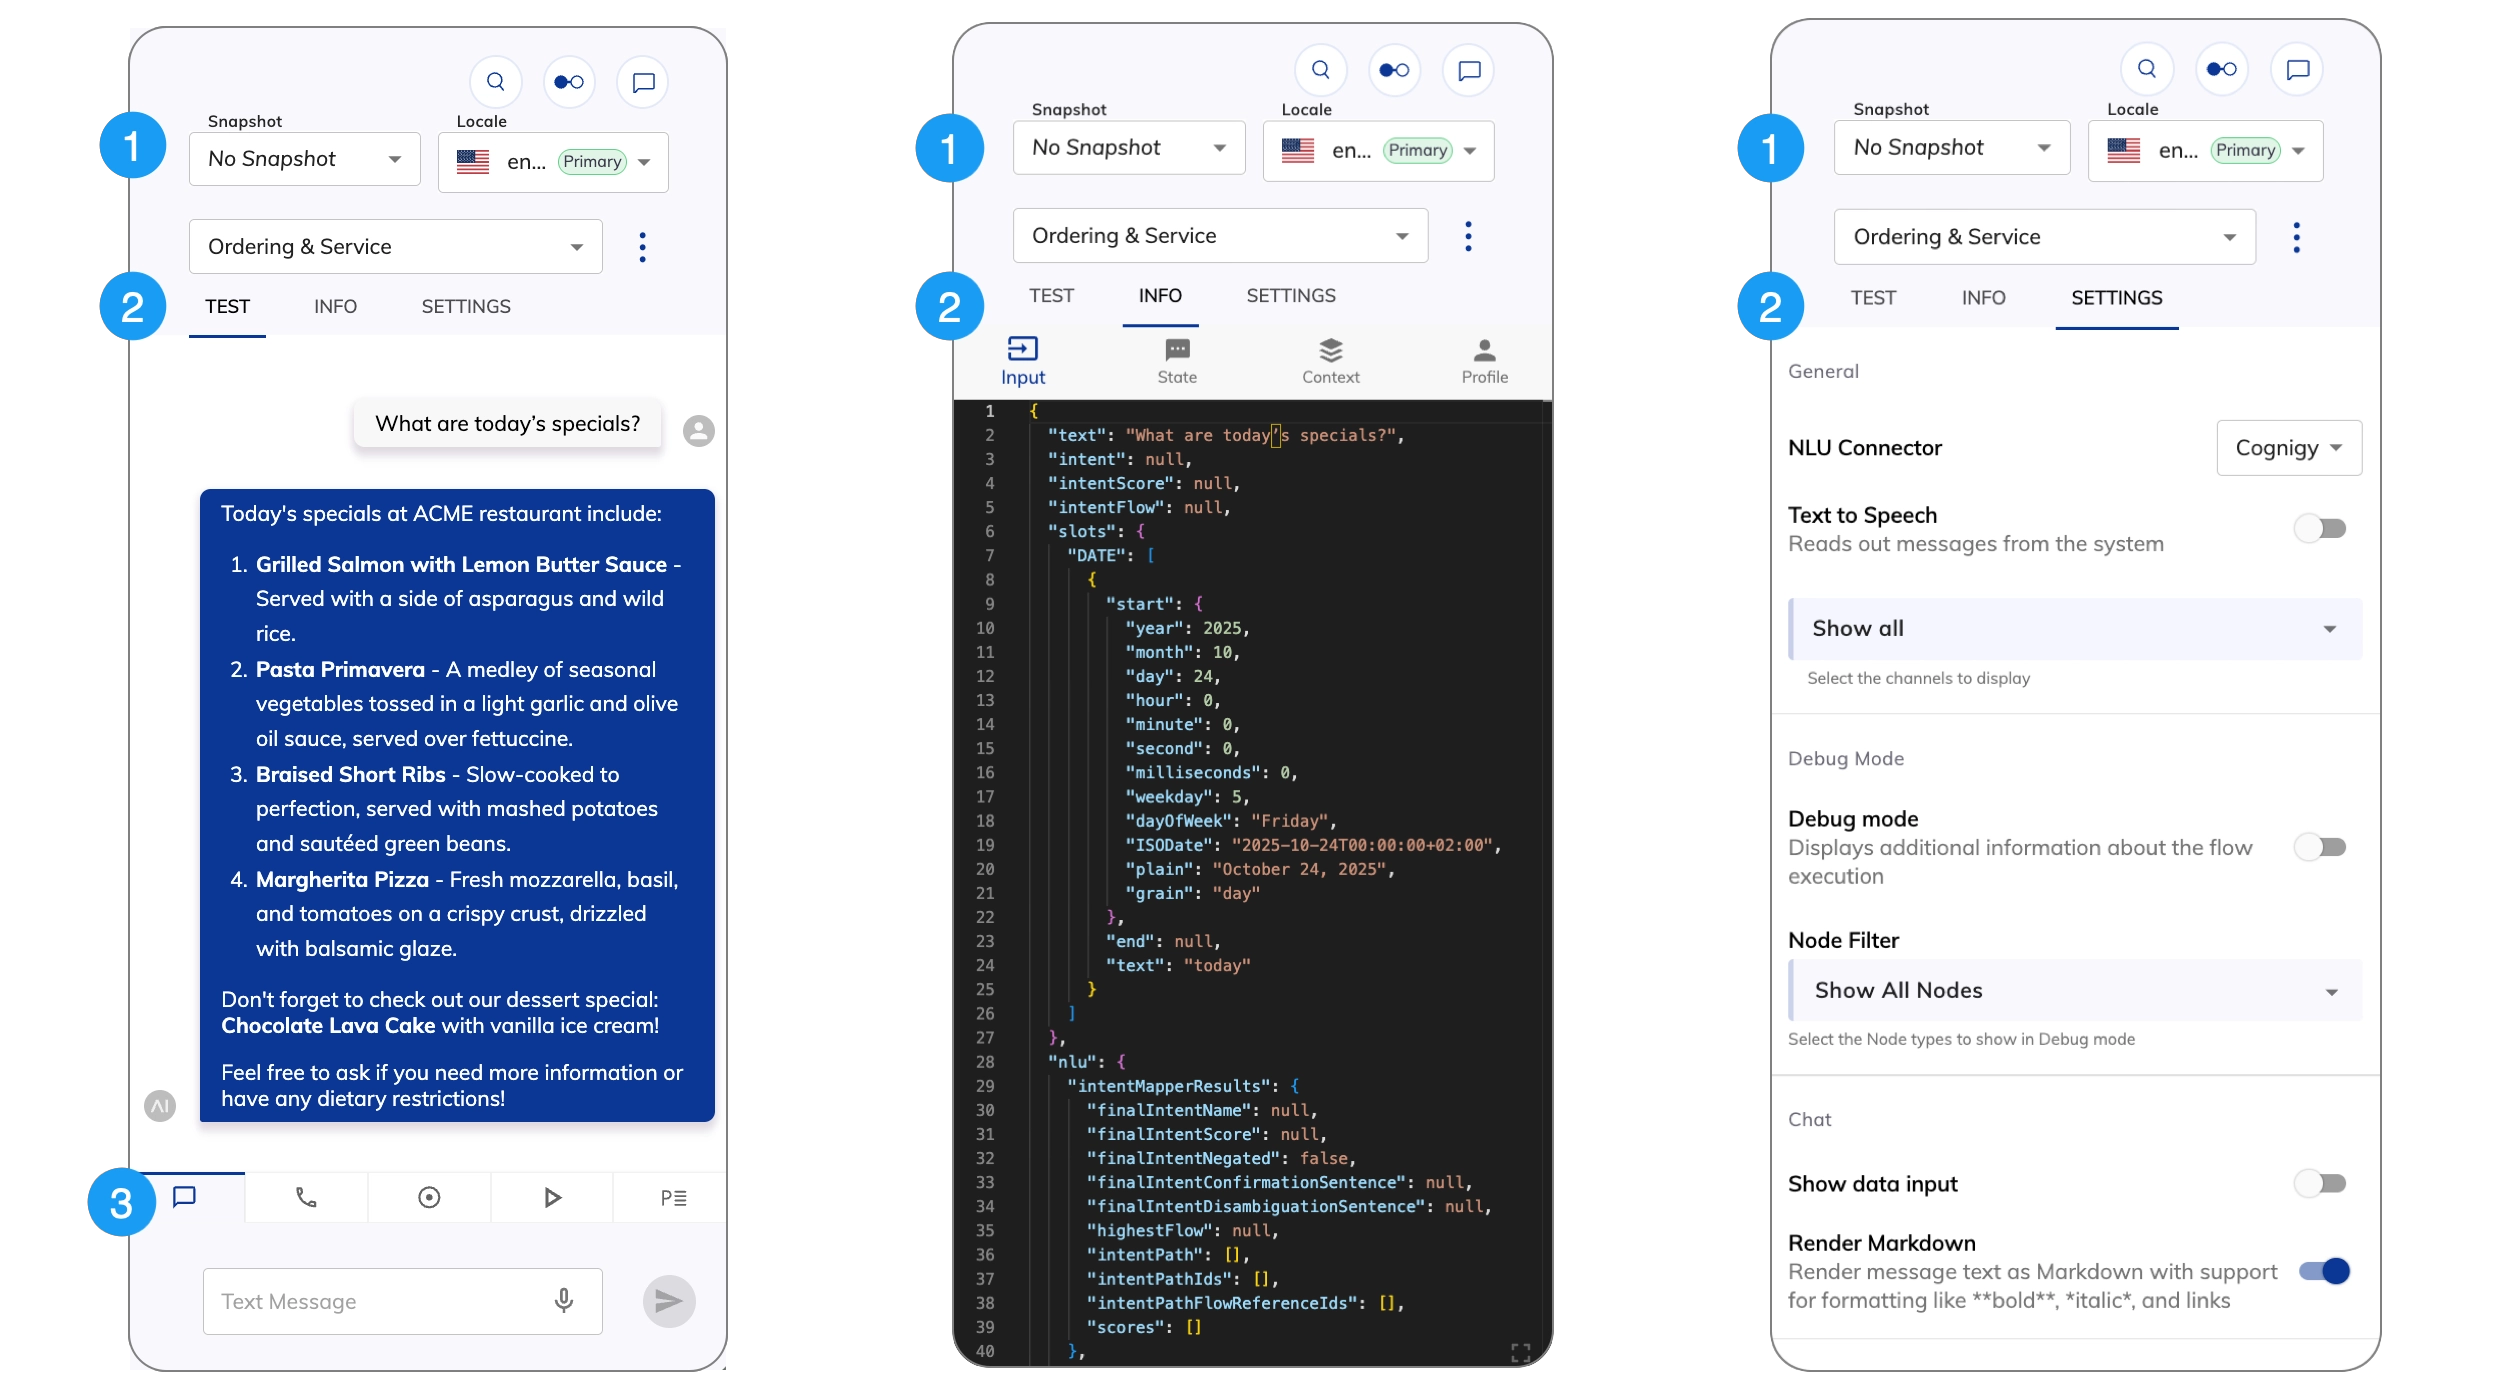
| NLU Connector | List | Allows you to select third-party NLU engines to use in the Interaction Panel. To install a new NLU engine in Cognigy.AI, go to Build > NLU Connectors and click + New NLU Connector. For more information on how to manage NLU connectors, refer to NLU Connectors. The default is the Cognigy NLU engine. |
| Text to Speech | Toggle | Allows the AI Agent vocalizes the responses using your browser’s built-in Text-to-Speech (TTS) functionality. |
| Channel Selection | List | Select the Channels you want to display in the Interaction Panel, such as Webchat, Voice Gateway, Slack, and more. The Show all option is selected by default. |
| Debug Mode | | |
| Debug mode | Toggle | Activates Debug mode. |
| Node Filter | List | Select the Node types to show in Debug mode. |
| Chat | | |
| Show Data Input | Toggle | Displays the Data Input field below the standard text input field in the Interaction Panel, allowing you to enter JSON data with or without a text message. For example, {"firstName": "Max", "lastName": "Müller"}. |
| Render Markdown | Toggle | Enables Markdown rendering for AI Agent text outputs. Supports basic formatting like italics, bold, links, and headers, as well as advanced features such as tables, footnotes, and nested lists. Formulas aren’t supported. This parameter is disabled by default and matches the behavior of the Webchat v3 Render Markdown option. |
| Voice Call | | |
| Language | List | Select a language for the AI Agent. The supported languages depend on the configured voice provider. The Custom option lets you use a TTS language that isn’t in the list. The format depends on the TTS Vendor, for example, de-DE, fr-FR, en-US. |
| Voice | List | Select a female or male speaker’s voice. This setting applies to region-specific voices as well. The format depends on the TTS Vendor, for example, de-DE-ConradNeural. |
| Playbooks | | |
| Repeat | Toggle | Allows Playbook runs repeatedly until you explicitly stop it. This feature is helpful for testing use cases that need consistent behavior over many interactions. |
| Delay | Number | Set a waiting time between each Playbook Step execution in milliseconds (ms). The default value is 200 ms. |
| Advanced | | |
| Enable Mocking | Toggle | Activates mocking for chat and simulation mode in the Interaction Panel. |
| Auto-Move Flow Editor | Toggle | Allows the Flow editor view to automatically: - Center on the last executed Node in the current Flow.
- Open another Flow that is triggered during the Flow execution and centers on the triggered Node.
The setting is activated by default. |
| Auto-Switch Target Flow Selection | Toggle | Automatically switches between Flows in the Interaction Panel when another Flow is opened in the editor. The setting is disabled by default. Example: A project includes two Flows, Flow A and Flow B. The process starts according to Flow A and reaches a step that triggers Flow B. If this setting is activated, Flow B opens in the editor, and the Interaction Panel automatically switches to Flow B in its settings. |