Accounts
![]()
Accounts are containers for resources such as applications, carriers, and speech services that are used to create and manage voice applications.
In Voice Gateway, an account may represent a specific customer organization and can have multiple users associated with it.
The account owner controls what the other users can see and do within the platform, ensuring that sensitive data and functions are kept secure. The account owner can be a user with Service Provider and Admin scopes. They can create more than one account and manage them. To create an account, in the left-side menu, select Accounts, then click Add account or +.
A user with the Account scope can view and edit only the account to which they belong.
Settings
| Settings | Description | Scope |
|---|---|---|
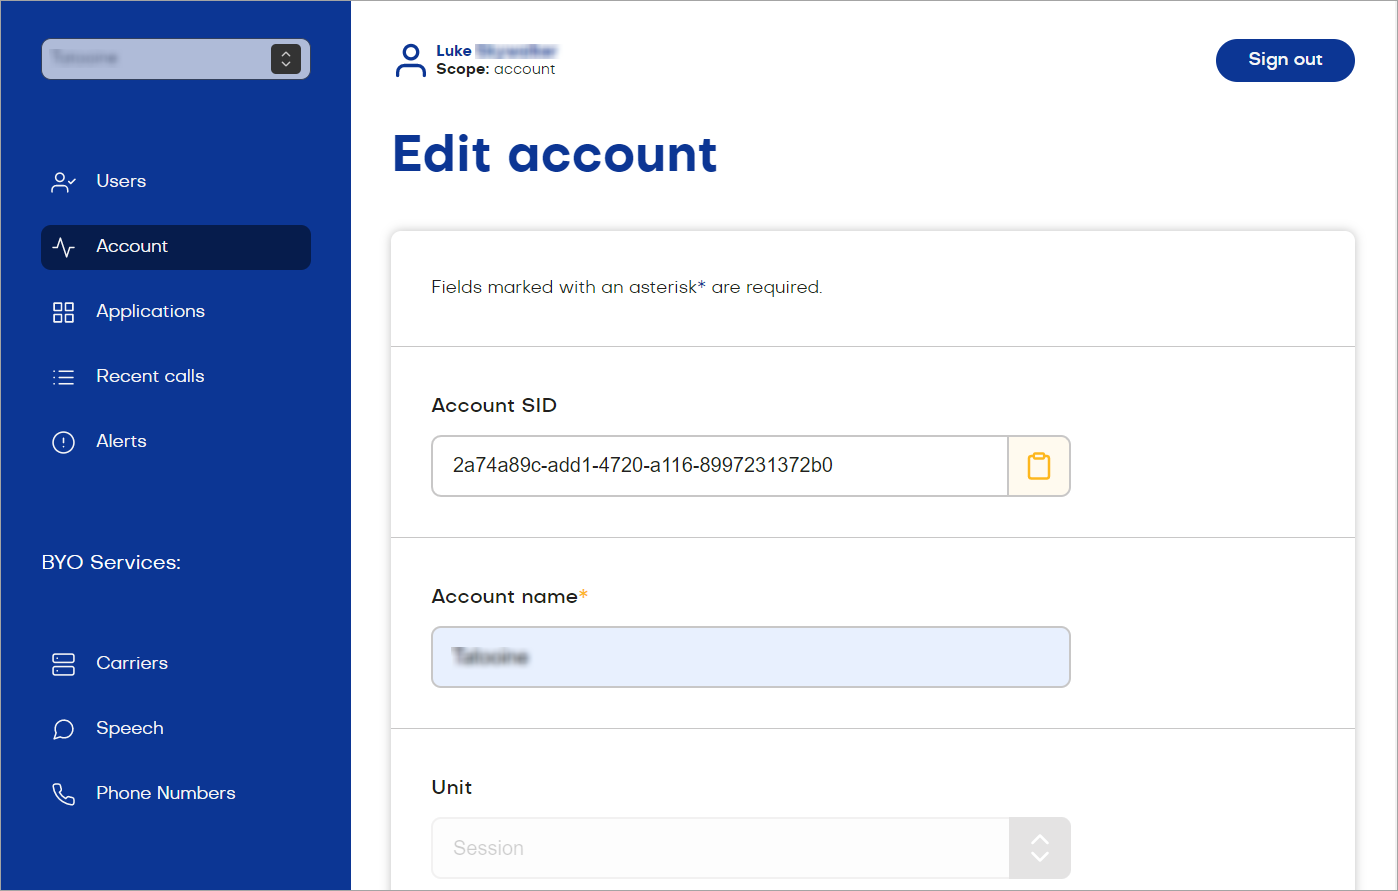
| Account SID | The value generates automatically when the admin creates an account | Account, Service Provider, Admin |
| Account name | A unique account name. | Account, Service Provider, Admin |
| Unit | You can choose sessions or minutes and specify a maximum number of them. | Admin |
| Licensed sessions | A number of purchased sessions. | Admin |
| SIP Realm | A domain name that SIP devices will register with. | Account, Service Provider, Admin |
| Webhook Secret | A layer of security "signing" the webhook calls. | Account, Service Provider, Admin |
| Application for SIP device calls | Select the application which is used to handle incoming calls from SIP users who have registered to the Account's SIP Realm. | Account, Service Provider, Admin |
| Application for SIPREC calls | Select the application for SIPREC calls. | Account, Service Provider, Admin |
| Registration Webhook | A URL for your Web Application that handles registrations. | Account, Service Provider, Admin |
| Queue Event Webhook | A URL to notify when a member joins or leaves a queue. | Account, Service Provider, Admin |
| TTS prompt caching | View the count of cached prompts, and click to clear the TTS cache. | Account, Service Provider, Admin |
| Call recording configuration | Enable and configure call recordings at an account level. | Account, Service Provider, Admin |
| Account API keys | You can generate API key by clicking Add key. | Account, Service Provider, Admin |
TTS prompt caching
The Clear TTS Cache button resets the cached audio for TTS. This forces the bot to load new audio for TTS, to help to resolve TTS related issues.
Call recording configuration
Call recordings can be enabled at an account or application level for debugging purposes.
To enable this feature and store your calls, you must provide credentials for a bucket vendor. After a call is recorded, an admin can listen to and review recordings on the Recent calls page.
Note that this feature records the entire call and cannot be managed within a Cognigy.AI Flow. If you want to control call recording in your Flow, use a Call Recording Node. This Node enables you to store and record calls; you can start, stop, and pause recordings at any point.
Account level recording
When the Call recording feature is enabled at the account level, calls from all applications within an account will be recorded.
To enable recording calls at an account level, follow these steps:
- Open the Voice Gateway interface.
- In the left-side menu, select Accounts.
- Create a new account or use an existing one.
- Scroll down to the Call recording configuration section, click the checkbox for Enable call recording.
- In the Audio Format field, choose between
.wavand.mp3formats. -
Select a bucket vendor:
- Bucket Name — provide the name of your bucket.
- Region — choose the region for your storage from the list.
- Access key ID — provide the access key ID for your bucket.
- Secret access key — provide the secret access key ID for your bucket.
- S3 Tags — provide any S3 tags with name and value as needed.
- Bucket Name — provide the name of your bucket.
- Service key — provide a JSON key for a Service Account with APIs enabled for Cloud Storage and Storage Transfer API.
- Google Cloud Storage Tags — provide any Google Cloud Storage tags with name and value as needed.
- Container Name — provide the name of your container.
- Connection String — provide a connection string.
- Azure Cloud Storage Tags — provide any Azure Cloud Storage tags with name and value as needed.
-
Click Test to verify your connection.
- Activate the Record all calls for this account option if you want to record calls for all applications within this account.
- Click Save.
All calls from all applications on this account will be recorded and appear in the Recent calls page.
Account Level API Keys
Generate a new Account level API key by clicking Add key.