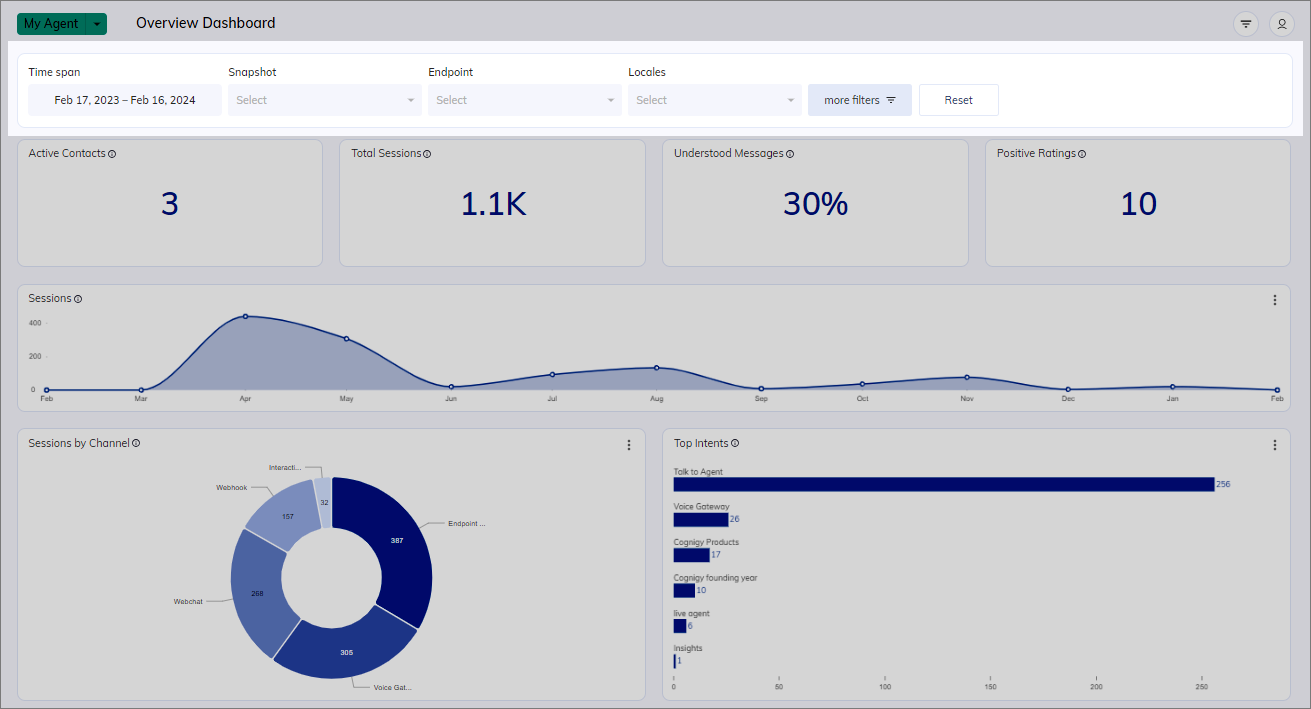
Global Filters
![]()
Global Filters enable you to focus your reports and explorers on specific datasets by adjusting a set of criteria. These filters are available and effective across all reports and explorers, and they persist when you switch between them. Once you change a filter setting, the displayed graphics and charts will adapt to your selections. Reports will also reflect these changes.
The following global filters are available:
Time Span
To focus on a specific time span, you can either set a preset time span or select specific dates using a date picker.
Available preset time spans include:
| Time Span | Description |
|---|---|
| Last 7 Days | Shows data from the past week. This time span is the default filter. |
| Last 30 Days | Shows data from the last 30 days. |
| Last 365 Days | Shows data from the previous year. The maximum period for data storage. |
| Today | Shows data from from the current day. |
| This Month | Shows data from the current month. |
| This Year | Shows data from the current calendar year. |
| Custom Period | Shows data from a user-defined range of dates. |
If you have changed a time span, click Apply to confirm and activate this filter.
Select a Custom Time Span
You can select specific hours within the chosen time span to narrow down your results to a more precise time period. To define a custom time span, proceed as follows:
- At the top of the Insights interface, go to the filter bar.
- In the Time Span filter, select Custom Period.
- Activate the Select time option to include hours in your selection.
- Click Start Date to open a date picker calendar.
- Select both the date and time by adjusting the clock hand to your preferred hour within the 24-hour cycle.
- Select End Date to open the date picker calendar once more.
- Similarly, select the end date and time that you desire.
- Click Apply to activate the selected filter settings.
Endpoints
Endpoints serve as connectors. They allow seamless interactions between Cognigy AI Agents and external systems or platforms. Examples of Endpoints include Webchat, Voice Gateway, and Microsoft Teams. For more information, read the Endpoints documentation.
You can select one or more Endpoints to be analyzed.
To use the Endpoints filter, proceed as follows:
- At the top of the Insights interface, go to the filter bar.
- Click Endpoint.
- Use the Type to search field to find a specific Endpoint or select Endpoints from the list.
- (Optional) Activate the Negate option and select Endpoints you don't want to include in your analysis. All Endpoints except the selected ones will be included in your data charts.
- (Optional) To view only selected options, click
 in the Type to search field.
 - (Optional) To reset the search results, click x in the Type to search field.
- Click Apply to activate the filter settings. All reports and explorers will then display the data according to your selection.
Interaction Panel and Playbook Data
By default, the sessions created via the Interaction Panel or Playbooks are not included in the reports or explorers. To include such data, proceed as follows:
- At the top of the Insights interface, go to the filter bar.
- Click Endpoint.
- Activate the Interaction Panel / Playbook Data option.
- Click Apply to activate the filter settings. All reports and explorers will then display the data according to your selection.
Snapshots
Snapshots save the current form of your AI Agent and include Flows, Lexicons, Connections, Functions, and more. The Snapshots serve as an immutable form of an AI Agent in Cognigy.AI. For more information, read the Snapshots documentation.
To use the Snapshot filter, proceed as follows:
- At the top of the Insights interface, go to the filter bar. Under Snapshots, open the list by clicking on it.
- Use the Type to search field to find a specific Snapshot or select Snapshots from the list.
- (Optional) Activate the Negate option to select the Snapshots you don't want to include in your analysis. All Snapshots except the selected ones will be considered for analysis.
- (Optional) Activate the None option to obtain analysis data of all available endpoint data, except for Snapshot data.
- (Optional) To view only selected options, click in the Type to search field.
- (Optional) To reset the search results, click x in the Type to search field.
- Click Apply to activate the filter settings. All reports and explorers will then display the data according to your selection.
Locales
The Locales filter allows you to filter the data to include or exclude one or more languages or locales. For more information, read the Localization documentation.
To use the Locales filter, proceed as follows:
- At the top of the Insights interface, go to the filter bar and click more filters.
- Under Locales, open the list by clicking on it.
- Use the Type to search field to find a specific Locale or select Locales from the list.
- (Optional) Activate the Negate option to select the Locales you don't want to include in your analysis. All Locales except the selected ones will be considered for analysis.
- (Optional) To view only selected options, click in the Type to search field.
- (Optional) To reset the search results, click x in the Type to search field.
- Click Apply to activate the filter settings. All reports and explorers will then display the data according to your selection.
Goals (Beta)
The Goals filter allows you to include or exclude one or more goals from the data.
For more information, refer to the Goals documentation.
To use the Goals filter, follow these steps:
- In the left-side menu of the Insights interface, select where you want to filter goals: the Goals Report or the Transcript Explorer.
- At the top of the page, go to the filter bar and click More Filters. Under Goals, click to open the list.
- Use the Type to search field to find a specific goal, or select goals from the list.
- (Optional) Activate the Negate option to exclude the selected goals from your analysis. All goals except the selected ones will be considered.
- (Optional) To view only the selected options, click in the Type to search field.
- (Optional) To reset the search results, click x in the Type to search field.
- Click Apply to activate the filter settings. Based on your selection, the report or explorer will display the corresponding data.
Share Insights URL with Filters
When you share a specific URL with global filters applied, your team members will see the same data and filters you've selected.
More benefits:
- You can reload any Insights page, and it will restore the Global Filters you previously selected.
- When reloading an open transcript in the Transcript Explorer, you will land on the same page with the transcript open.
- Reloading the Message Explorer with an applied search result will take you back to the same point as before reloading.
- Reloading on the Message Explorer while a message is selected will return you to the same state as before reloading.