Speech Services
![]()
Speech services integrate Speech-to-Text (STT) or Text-to-Speech (TTS) vendors in the Voice Gateway Self-Service Portal. To ensure the AI Agent gets a voice, a speech service must be selected within the Application. By connecting with a speech vendor of your choice, you can select between multiple voices, genders, accents, and languages. You can add multiple speech vendors to the Voice Gateway Self-Service Portal, or install multiple configurations of one speech vendor, to quickly switch between different setups.
Voice Gateway supports the following speech vendor configurations:
For the list of supported vendors and their Speech-To-Text and Text-To-Speech capabilities, see the TTS and STT Vendors reference.
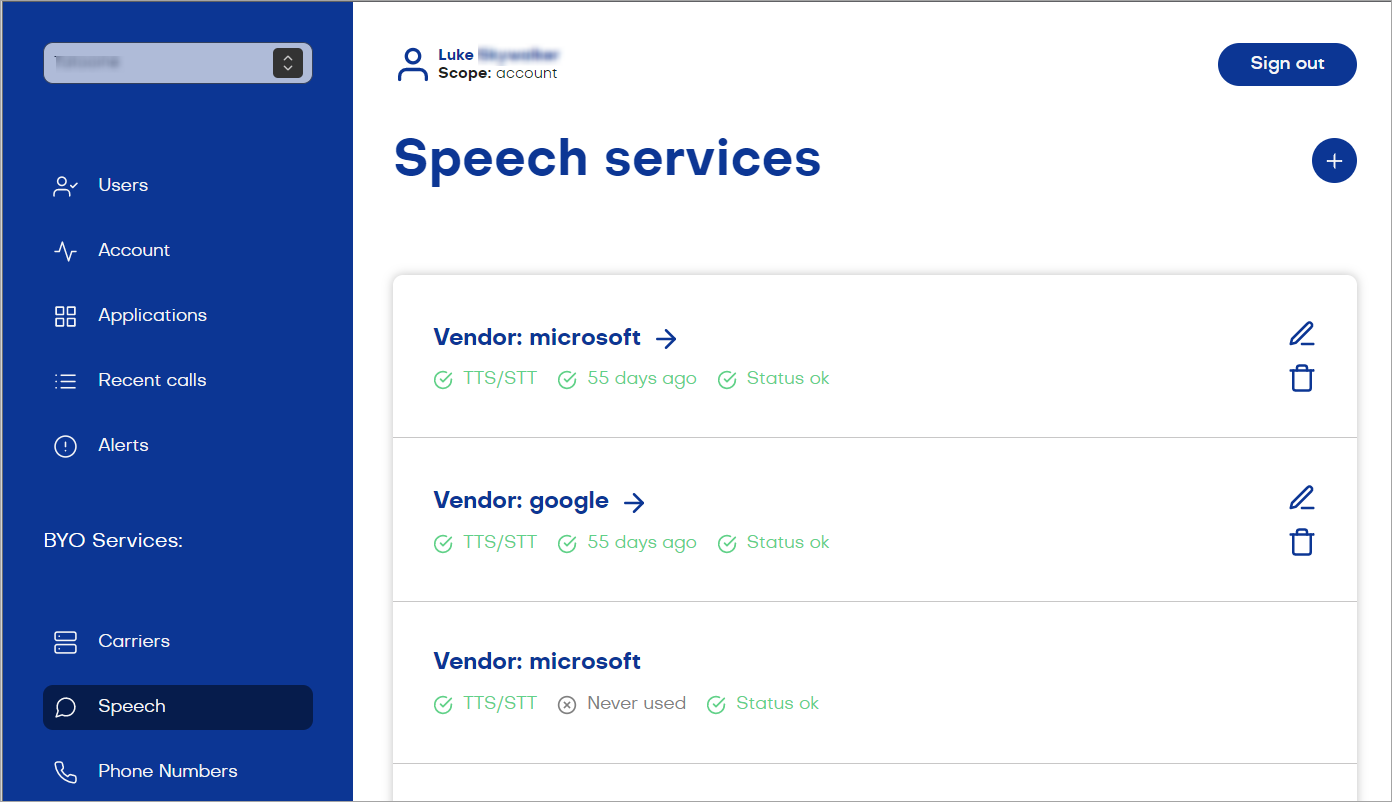
If you need to create multiple speech services from the same vendor, use the Label field to create a unique speech service.
After creating a speech service, you can edit or delete it.
Users with an Account scope can only edit speech services they have created, as well as speech services created by other users with the same scope. They can still use and view speech services shared by Service providers or Admins.
Cloud-Based Speech Services
To configure the connection for a cloud-based speech service:
- In the left-side menu of the Voice Gateway Self-Service Portal, select Speech.
- Click Add Speech Service and select your preferred vendor.
- Select the account you want to use it with.
- (Optional) If you need to create multiple speech services from the same vendor, use the Label field to create a unique speech service.
- Select Speech-To-Text, Text-To-Speech or both, depending on your use case.
- Follow further instructions according to your selected vendor:
- Enter the Access Key in the Access key ID field. For more information on AWS Access Keys, read the Amazon AWS documentation.
- Enter the Secret Access Key in the Secret access key field.
- Select a region from the Region list.
- Enter an API key in the API key field. For more information on API keys in Deepgram, read the Deepgram documentation.
- Enter an API key in the API key field. For more information on ElevenLabs API keys, read the ElevenLabs documentation.
- Select your language model from the Model list.
- (Optional) Edit the JSON code for additional options by selecting the Extra Options.
- Upload your Service Key to the Service key field. For more information on creating Service Keys in Google Cloud, read the Google Cloud documentation.
- Select Use hosted Azure service.
- Select a region from the Region list.
- Enter an API key in the API key field. For more information on linking API keys, read the Microsoft Speech Services Billing documentation.
- (Optional) Select a custom voice model for TTS by providing a custom voice endpoint ID in the Custom voice deployment ID field.
- (Optional) Select a custom speech model for STT by providing a custom speech endpoint ID in the Custom speech endpoint ID field.
- Enter the client ID in the Client ID field. You can obtain the client ID as well as the secret key from your Nuance program manager. For more information, read the Nuance documentation.
- Enter the secret key in the Secret field.
- Enter an API key in the API key field. For more information on Soniox API keys, read the Soniox Quick Start Guide.
Save your changes by clicking Save. Once you created a speech service, add this service to the Application.
On-Premises Speech Services
- In the left-side menu of the Voice Gateway Self-Service Portal, select Speech.
- Click Add Speech Service and select your preferred vendor.
- Select the account you want to use it with.
- (Optional) If you need to create multiple speech services from the same vendor, use the Label field to create a unique speech service.
- Select Speech-To-Text, Text-To-Speech or both, depending on your use case.
- Follow further instructions according to your selected vendor:
- Select Use on-prem Deepgram container.
- Enter the container URI for TTS in the Container URI field.
- Select Use TLS, if required.
- Select Use on-prem TTS and enter the IP port in the TTS URI field.
- Select Use on-prem STT to enter the IP port in the STT URI field.
- Select Use Azure Docker container (on-prem).
- Enter the container URL for TTS in the Container URL for TTS field.
- Enter the container URL for STT in the Container URL for STT field.
- Enter an API key in the Subscription key field, if required. Whether the subscription key is required will depend on your custom on-premises setup. For more information on Microsoft Azure Subscriptions, read the Subscriptions in Azure API Management documentation.
Save your changes by clicking Save. Once you created a speech service, add this service to the Application.
Add Custom Speech Vendors
If the desired vendor is not included in the list of preinstalled vendors, or if you want to modify the configuration of an existing one, you can add a custom vendor.
Before adding a vendor to the Voice Gateway, you need to create it. To do this, use the custom-speech-example template on GitHub. Using the same template, you can customize vendors that are provided in it as examples, such as Google, AssemblyAI, and Vosk, or create a new one. After you have created the custom provider, deploy it on a server, for example, in the AWS Cloud, then copy the address of the custom provider for use in the Voice Gateway.
To add a custom speech vendor, follow these steps:
- In the left-side menu of the Voice Gateway Self-Service Portal, select Speech.
- On the Speech services page, click Add speech service.
- On the Add a speech service page, select Custom from the Vendor list.
- In the Name field, specify a unique name for your provider. You need to reuse this name in the Node configuration.
- From the Account list, select a specific account or leave the All accounts value if you want that custom speech provider will be available for all available accounts.
- In the Label field, create a label only if you need to create multiple speech services from the same vendor. Then, use the label in your application to specify which service to use.
- Activate the Use for text-to-speech setting to use this provider as a TTS vendor. Enter the TTS HTTP URL of the server where your custom vendor is deployed.
- Activate the Use for speech-to-text setting to use this provider as an STT vendor. Enter the STT websocket URL of the server where your custom vendor is deployed.
- In the Authentication Token field, enter the key that you get from your TTS or STT vendor to set up a connection.
- Click Save.
To start using your speech provider, you need to specify the provider name in the Custom parameter of the relevant Nodes, such as Set Session Config, Say, Question or Optional Question, or Session Speech Parameters Config.