Install Helm Charts
To install Cognigy.AI perform the following steps:
- Install MongoDB database with MongoDB Helm Chart for Cognigy.AI. For up-to-date installation instructions, refer to README.md.
- Install Cognigy.AI with Cognigy.AI Helm Chart. For up-to-date installation instructions, refer to README.md.
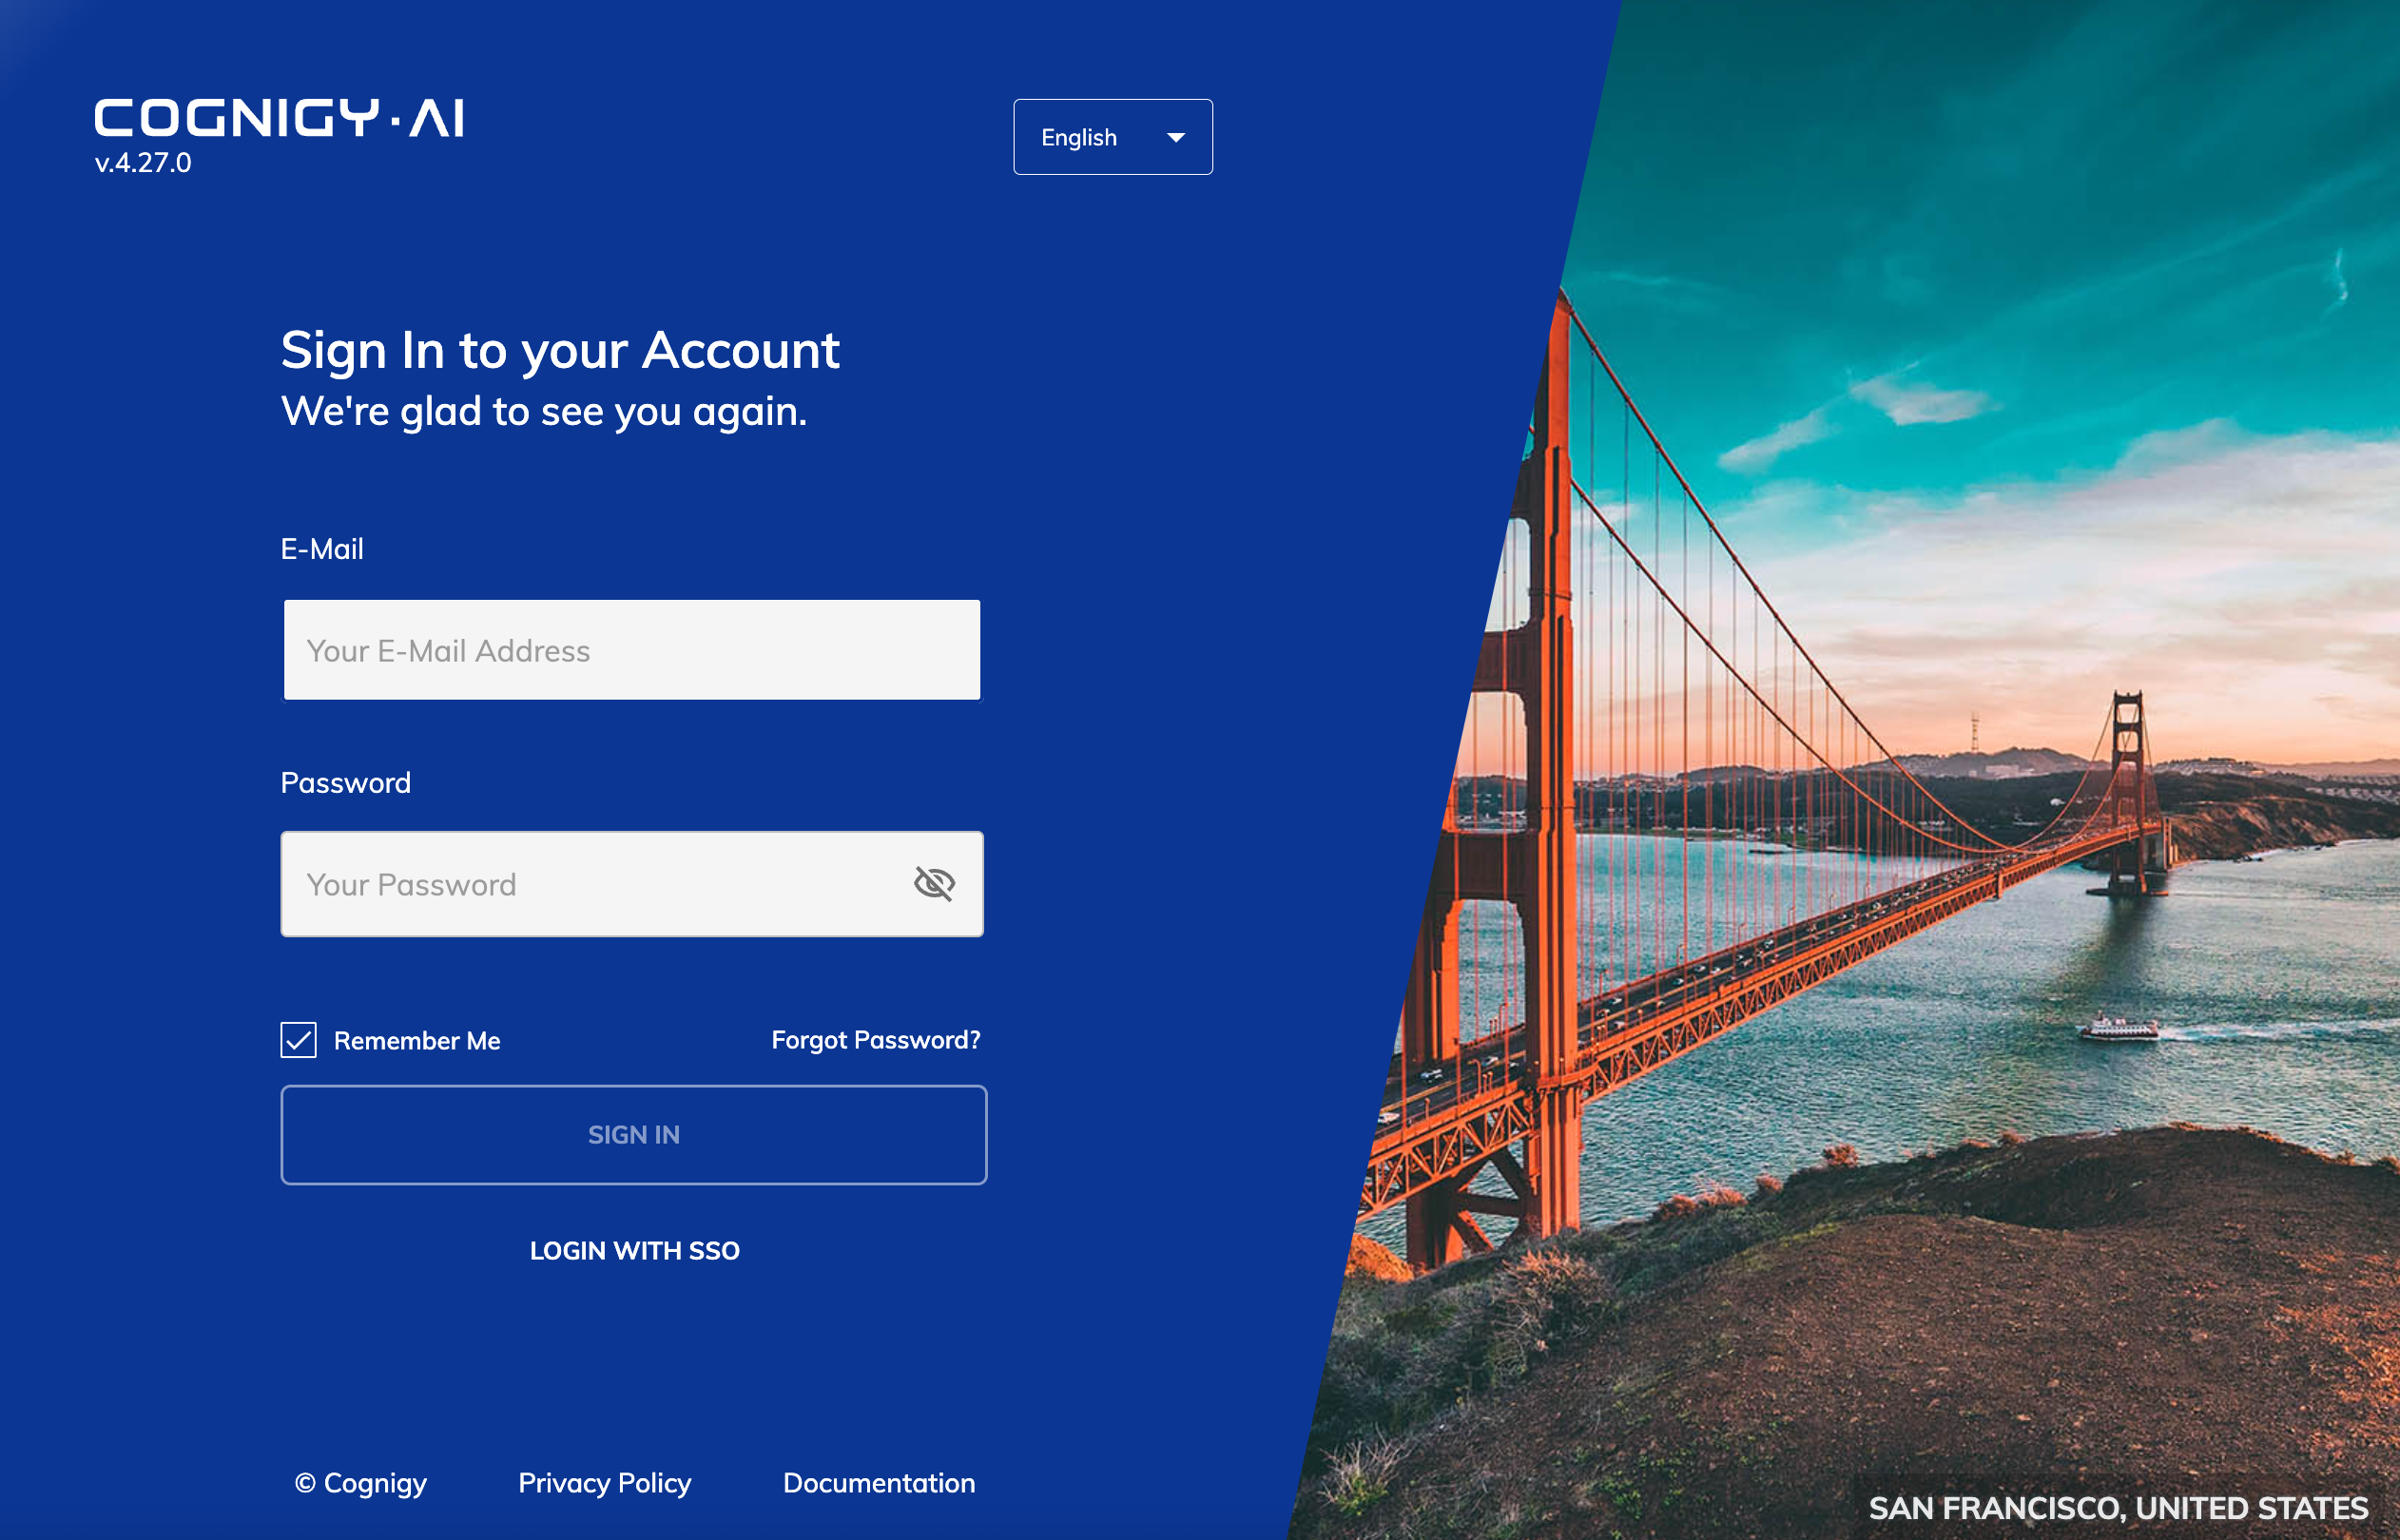
Once both Helm releases are successfully installed, you can open a web-browser and visit the URL, which you have set in serviceUi.host parameter Cognigy.AI Helm release. You should be able to see the login screen of Cognigy.AI frontend application:
Retrieve Login Credentials
Once you are able to see the Cognigy.AI login screen, you might wonder which credentials can be used to log in. We chose not to add default admin user with static-credentials as such users will often not get properly removed from systems and leave software products exposed to potential security attacks. Our system creates random credentials on startup if no credentials exist within the system yet. The credentials will get printed into service-security deployment logs during its first start-up, to retrieve the initial credentials execute:
You should see something along the following lines with initial user credentials (email and password):
It may happen that service-security deployment gets restarted several times during provisioning and the initial logs are not visible anymore. If service-security has restarted only once, you can obtain the logs of the previous container with --previous flag:
If service-security was restarted several times, to reset init user credentials, you will need to drop service-security database in MongoDB database and restart service-security deployment.
IMPORTANT: All Organizations and Users will be lost during this process. Perform it only during initial Cognigy.AI setup. Here is a separate document on how to Reset Initial Credentials.
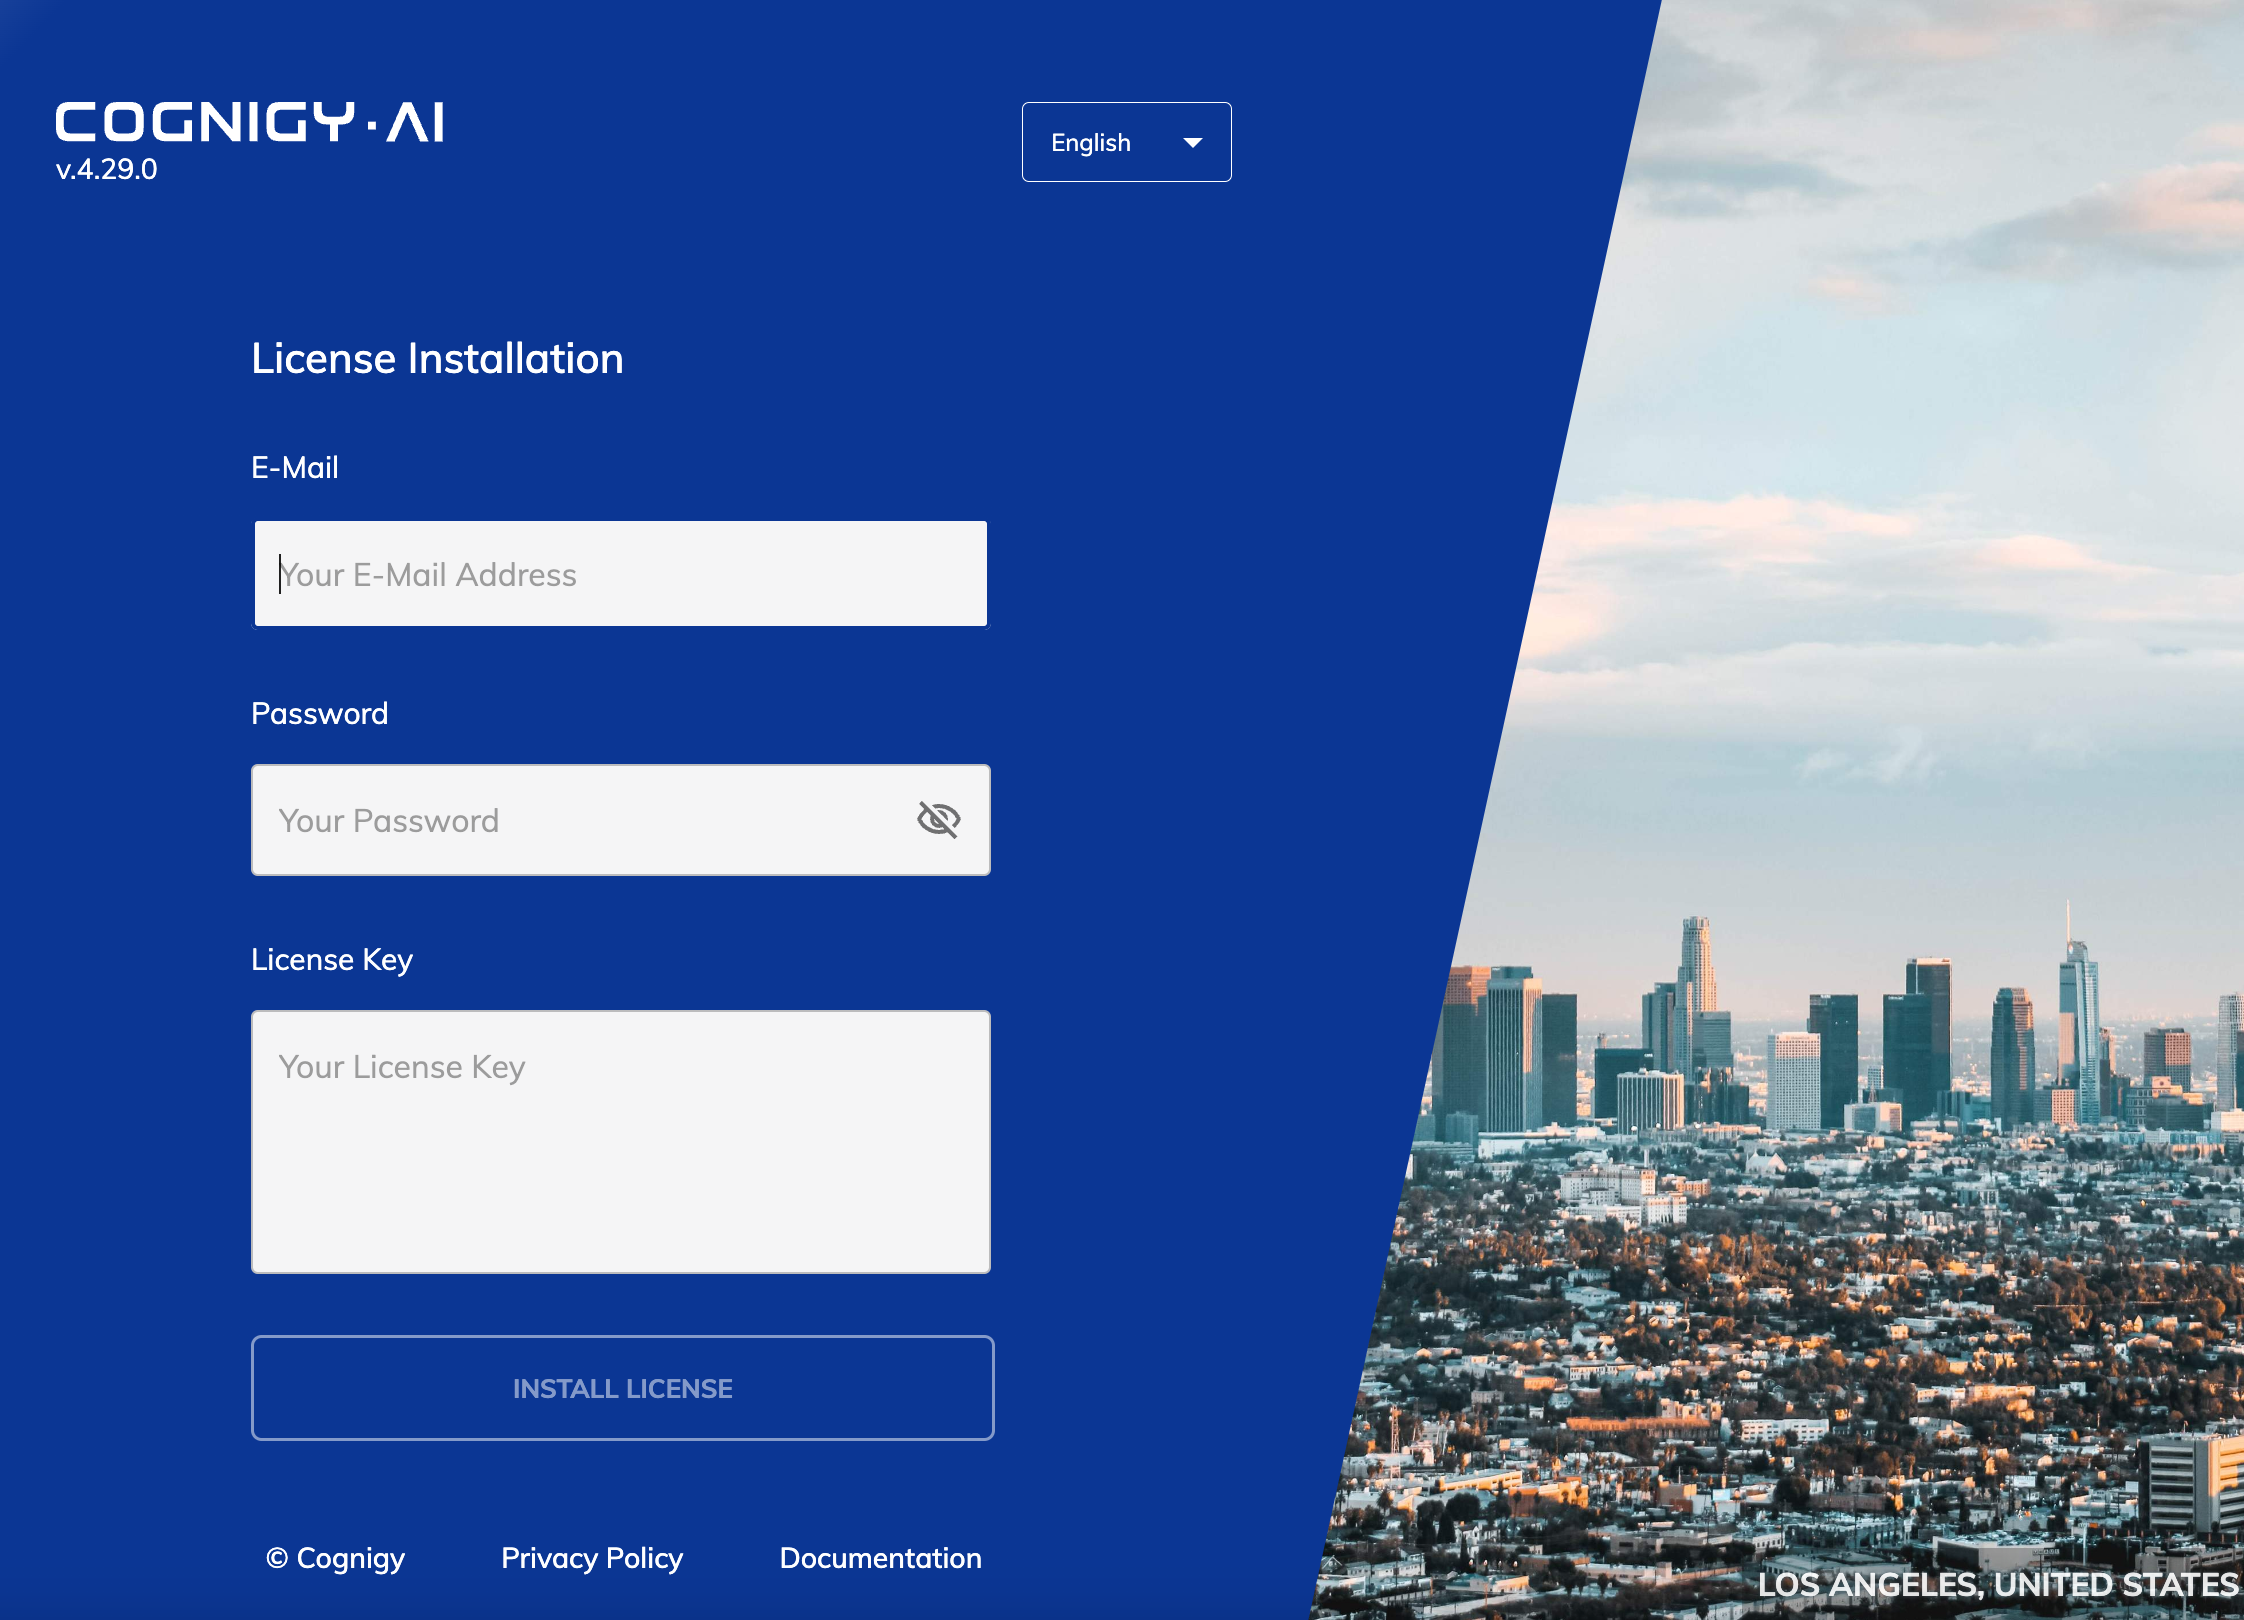
License Key Activation
Once you obtained the initial user credentials, visit the web interface of Cognigy.AI,
but replace the URL ending /login with /license.
This will open our license activation screen, which looks quite similar to the login-form but with an additional license-key field:
Paste initial credentials (email and password) and your license-key (including both ====BEGIN LICENSE==== and =====END LICENSE===== delimiters) and click Activate license. If everything worked, the application will redirect to the login screen on which you can log in to finally start using Cognigy.AI.
If you open and save the file with the license key on a Windows machine, it may become corrupted with hidden windows characters. Use a Linux machine to copy the license or a Windows text editor, which can handle linux files properly, for example, Notepad++ If you’re using Argo CD to manage the deployment of Cognigy.AI, note that Argo CD doesn’t support the lookup function from Helm. Read more details about this issue on GitHub. Cognigy.AI relies heavily on the lookup function to generate secrets dynamically. Since Argo CD doesn’t support the lookup function, Cognigy.AI will change the value of the secret with every update.To avoid this, you can use the option of existingSecret. All secret templates are structured so that when existingSecret is defined, the lookup function won’t be used, preventing the previously mentioned issue. The example shows how to use existingSecret:We suggest to follow the below sequence:
- Let the Helm chart create all the secrets during the first-time installation of Cognigy.AI.
- Take a backup of the secrets by following Backups.
- Backport the name of all relevant secrets to the
values.yaml file as existingSecret.
New secrets are frequently added to Cognigy.AI, so you need to review the newly created secrets after each update and backport them as existingSecret. You can identify new secrets by checking creationTimestamp. To list secrets with their creationTimestamp, run the following command: Last modified on July 23, 2026